DIY Projects for Kids of All Ages


By Julia Marchand

Before I became a mom, I heard a whole slew of gripes from other parents. The one that kept recurring more often than any others was “Kids are expensive!” Creativity becomes imperative for those on a budget who don’t want their little ones to go without the games and goodies that make childhood special, so here are a few kid-approved projects to keep the little ones and your wallet happy…
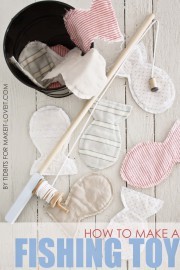
Image via makeit-loveit.com

Fishing can happen any time of any day when it’s taking place right at home. I discovered this adorable little DIY fishing game lurking in the depths of Ohio Valley Goodwill Industries, Inc. (Cincinnati)’s Baby & Kids On A Budget pinboard. Reel in a few low-priced men’s shirts the next time you’re thrifting and get started on this project on your next rainy day! You’ll feel proud creating something from scratch and might just be able to bait your kids into playing quietly for more than five minutes!
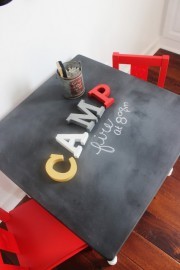
 

Image via DelightfullyNoted.blogspot.com

By now you probably already know that thrifting second-hand furniture is worlds cheaper than buying brand-new. That’s especially true when it comes to kids’ furniture! The worst part about paying full price for the furniture your kids will use is knowing that it will probably be drawn on, scratched, and stickered in no time. Why not start with furniture that is already conducive to your kids’ creativity? Jennifer crafted this truly inspiring playroom and shared it on her blog, Delightfully Noted. It includes a kids’ table that she scored at Goodwill for just $2 and transformed into a chalkboard to stay one step ahead of those inevitable doodles! Go ahead, little ones, draw on!
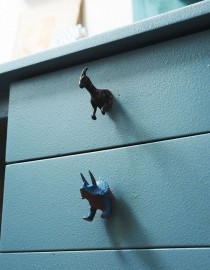
Image via Pinterest.com/GoodwillSCWI

Who said everything in your kid’s room can’t be just as fun as the toys they request? I challenge you to turn the most boring object you can think of (a dresser, perhaps?) into something exciting for your bambinos! It really can be as simple as slapping a fresh coat of bright paint on a Goodwill bureau and swapping out the regular knobs for toys you grabbed on your way to the check out, too! I found the above project idea on Goodwill Industries of South Central Wisconsin, Inc. (Madison)’s pinboard of DIY Ideas and instantly loved its kid-friendly quirkiness.

These days I don’t have to trust other parents when they tell me how costly raising a child can be because I know, first hand, that it’s true. Thankfully, I drive past Goodwill every day on my way to and from work so I can easily swing in. Goodwill doesn’t just help my family to live a better life, but it does so for many other families as well. Goodwill agencies have actually been recognized for their forward-thinking family financial stability practices that allow program participants as well as employees and their families to access individual education and training needs that include debit management, budget and credit counseling, and educational workshops. With familial support like that, I am proud to invest my hard-earned dollars in Goodwill stores and come home to my own family a little more inspired.

Hit the Beach with Iconic Thrift Finds

  By Julia Marchand

Throughout the year, I look forward to summertime. Not only for the obvious reasons: the warmth, the sun and the generally leisurely attitude that many people adopt, but also because summer brings trips to the ocean. I realize, of course, that we could go to the ocean any day, but what is the fun in going when it’s cold out? It’s summer now, so the time has come for this girl to plan a trip to the seaside!

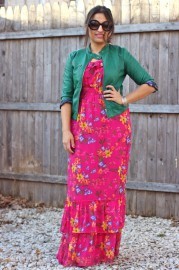
Image via Dina Days

If you ask me, maxi dresses were made for just such a trip. They’re flowy so they’re comfortable for a car ride (we usually make the drive to Ogunquit, Maine which is almost two hours away), they’re light to keep things cool in the sun, and they’re long so everything stays PG even when a strong ocean breeze blows. On my upcoming trip, I’m likely to wear an outfit very similar to this one styled by blogger Dina of Dina’s Days. It goes perfectly with a bright jacket, which is necessary on any Northern Atlantic shore, just in case the clouds roll in. By the way, can you believe that this entire look was thrifted? The dress was only $1.50 at Dina’s local Goodwill! I love that style is so accessible through Goodwill stores.

Image via Seattle Goodwill

Speaking of style, these fab friends from Seattle Goodwill are killing it in their vintage swimsuits! The collection dates from the 1860s through the 1980s with immaculately preserved clothing and accessories for every occasion. This group would definitely catch my eye strolling along the beach together! Just imagine how many wonderful seaside memories were made in those suits over the years. For more photos, click through to their blog post!

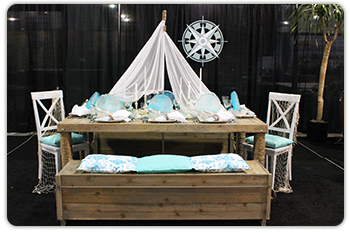
Image via Goodwill Industries of Southeastern Wisconsin and Metropolitan Chicago

Can’t make it to the ocean right now? You can still pretend by decking out that dining area with a maritime feel. Merri from Goodwill Industries of Southeastern Wisconsin and Metropolitan Chicago swept me away with this gorgeous display. My favorite part is the rope used for napkin holders. It’s such a simple idea and easy to execute, but it really captures that nautical flair. Merri has lots of great tips on how to assemble your own beachy tablescape (I mean, who’d have thought of turning a bath loofa into aquatic-looking netting?), so make sure you stop by their blog for more!

Do you have any plans to head to the seaside this summer? Make sure you stop by any Goodwill stores you see on the way! Your support will help Goodwill to continue doing its part in preserving our planet – its oceans included – by serving as sustainability innovators. This is done by harnessing renewable energy, including installing solar panels on Goodwill roofs to becoming LEED certified. Let’s all contribute to the health of the planet so future generations can wear our swimsuits to the beach as part of their vintage collection!

Sneaking Summer Into Your Workspace

By Julia Marchand

Alas, the days of summer vacation are in the past for most of us, so we pass up the pool in favor of a paycheck every Monday through Friday. But that doesn’t mean your summer style must be compromised! Unless you’re lucky enough to work outside and enjoy this glorious season before it’s gone, you may need to consciously include it in your 9 to 5 life. Here are a couple of ways to do that…

Image via blog.goodwilleasterseals.org

Put a little spring (or summer!) into your step every morning by donning work wear that reflects these warm, sunny days. I found a blog post with ten apparel items crafted into six outfits that are perfectly professional. Thanks to Goodwill/Easter Seals Minnesota (St. Paul)  for that fun mix-and-match, I’m inspired to get ready for work tomorrow morning! There are no windows in my office, so including color like this will dramatically improve the summer vibes. I would highly suggest investing in well-priced attire at Goodwill that, like these pieces, can work together to create lots of different looks. It’s such an efficient way to make the most of your money!


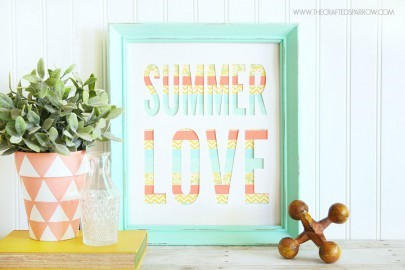
Image via thecraftedsparrow.com

Now, who says that home décor is just for the home? I find myself to be much more productive when my surroundings are tidy and well dressed, so why not bring my love of thrifty decoration to the office? A small, framed art piece like this one is easy to make (don’t forget to check out the DIY tutorial from The Crafted Sparrow) and just as simple to swap out with the seasons. This will keep the office from feeling stagnant and season-less, especially if it’s a cubicle. All you need to get started on this project is a second-hand picture frame, some washi tape, and poster board!

Image via facebook.com/GoodwillWorks

While we’re on the topic of a workplace, it might be a great time for me to share these tips for job seekers that Goodwill Industries of Middle Georgia and The CSRA (Macon) shared on their website. Whether you are out of work at the moment or just looking to advance in your current environment, I find these tips to be helpful. And, wouldn’t you know, number one is dressing the part! I bet you want to go back and peek at that summer work wears blog post I mentioned now, huh?

Even if your job may sometimes feel like a grind, I’m sure that deep down you know that work itself is incredibly important. It allows us all to support our families, to be active members of our communities, and to gain confidence and feel fulfilled. We are all lucky to have good work to do and maybe a little summer accessorizing will help us share that positivity with the rest of our coworkers! If you’d like to help others in your area gain the opportunity to work, because of Goodwill’s business model it’s this simple: Donate stuff, create jobs. There’s no better time than now!

3 Ways to Update Thrifted Baskets

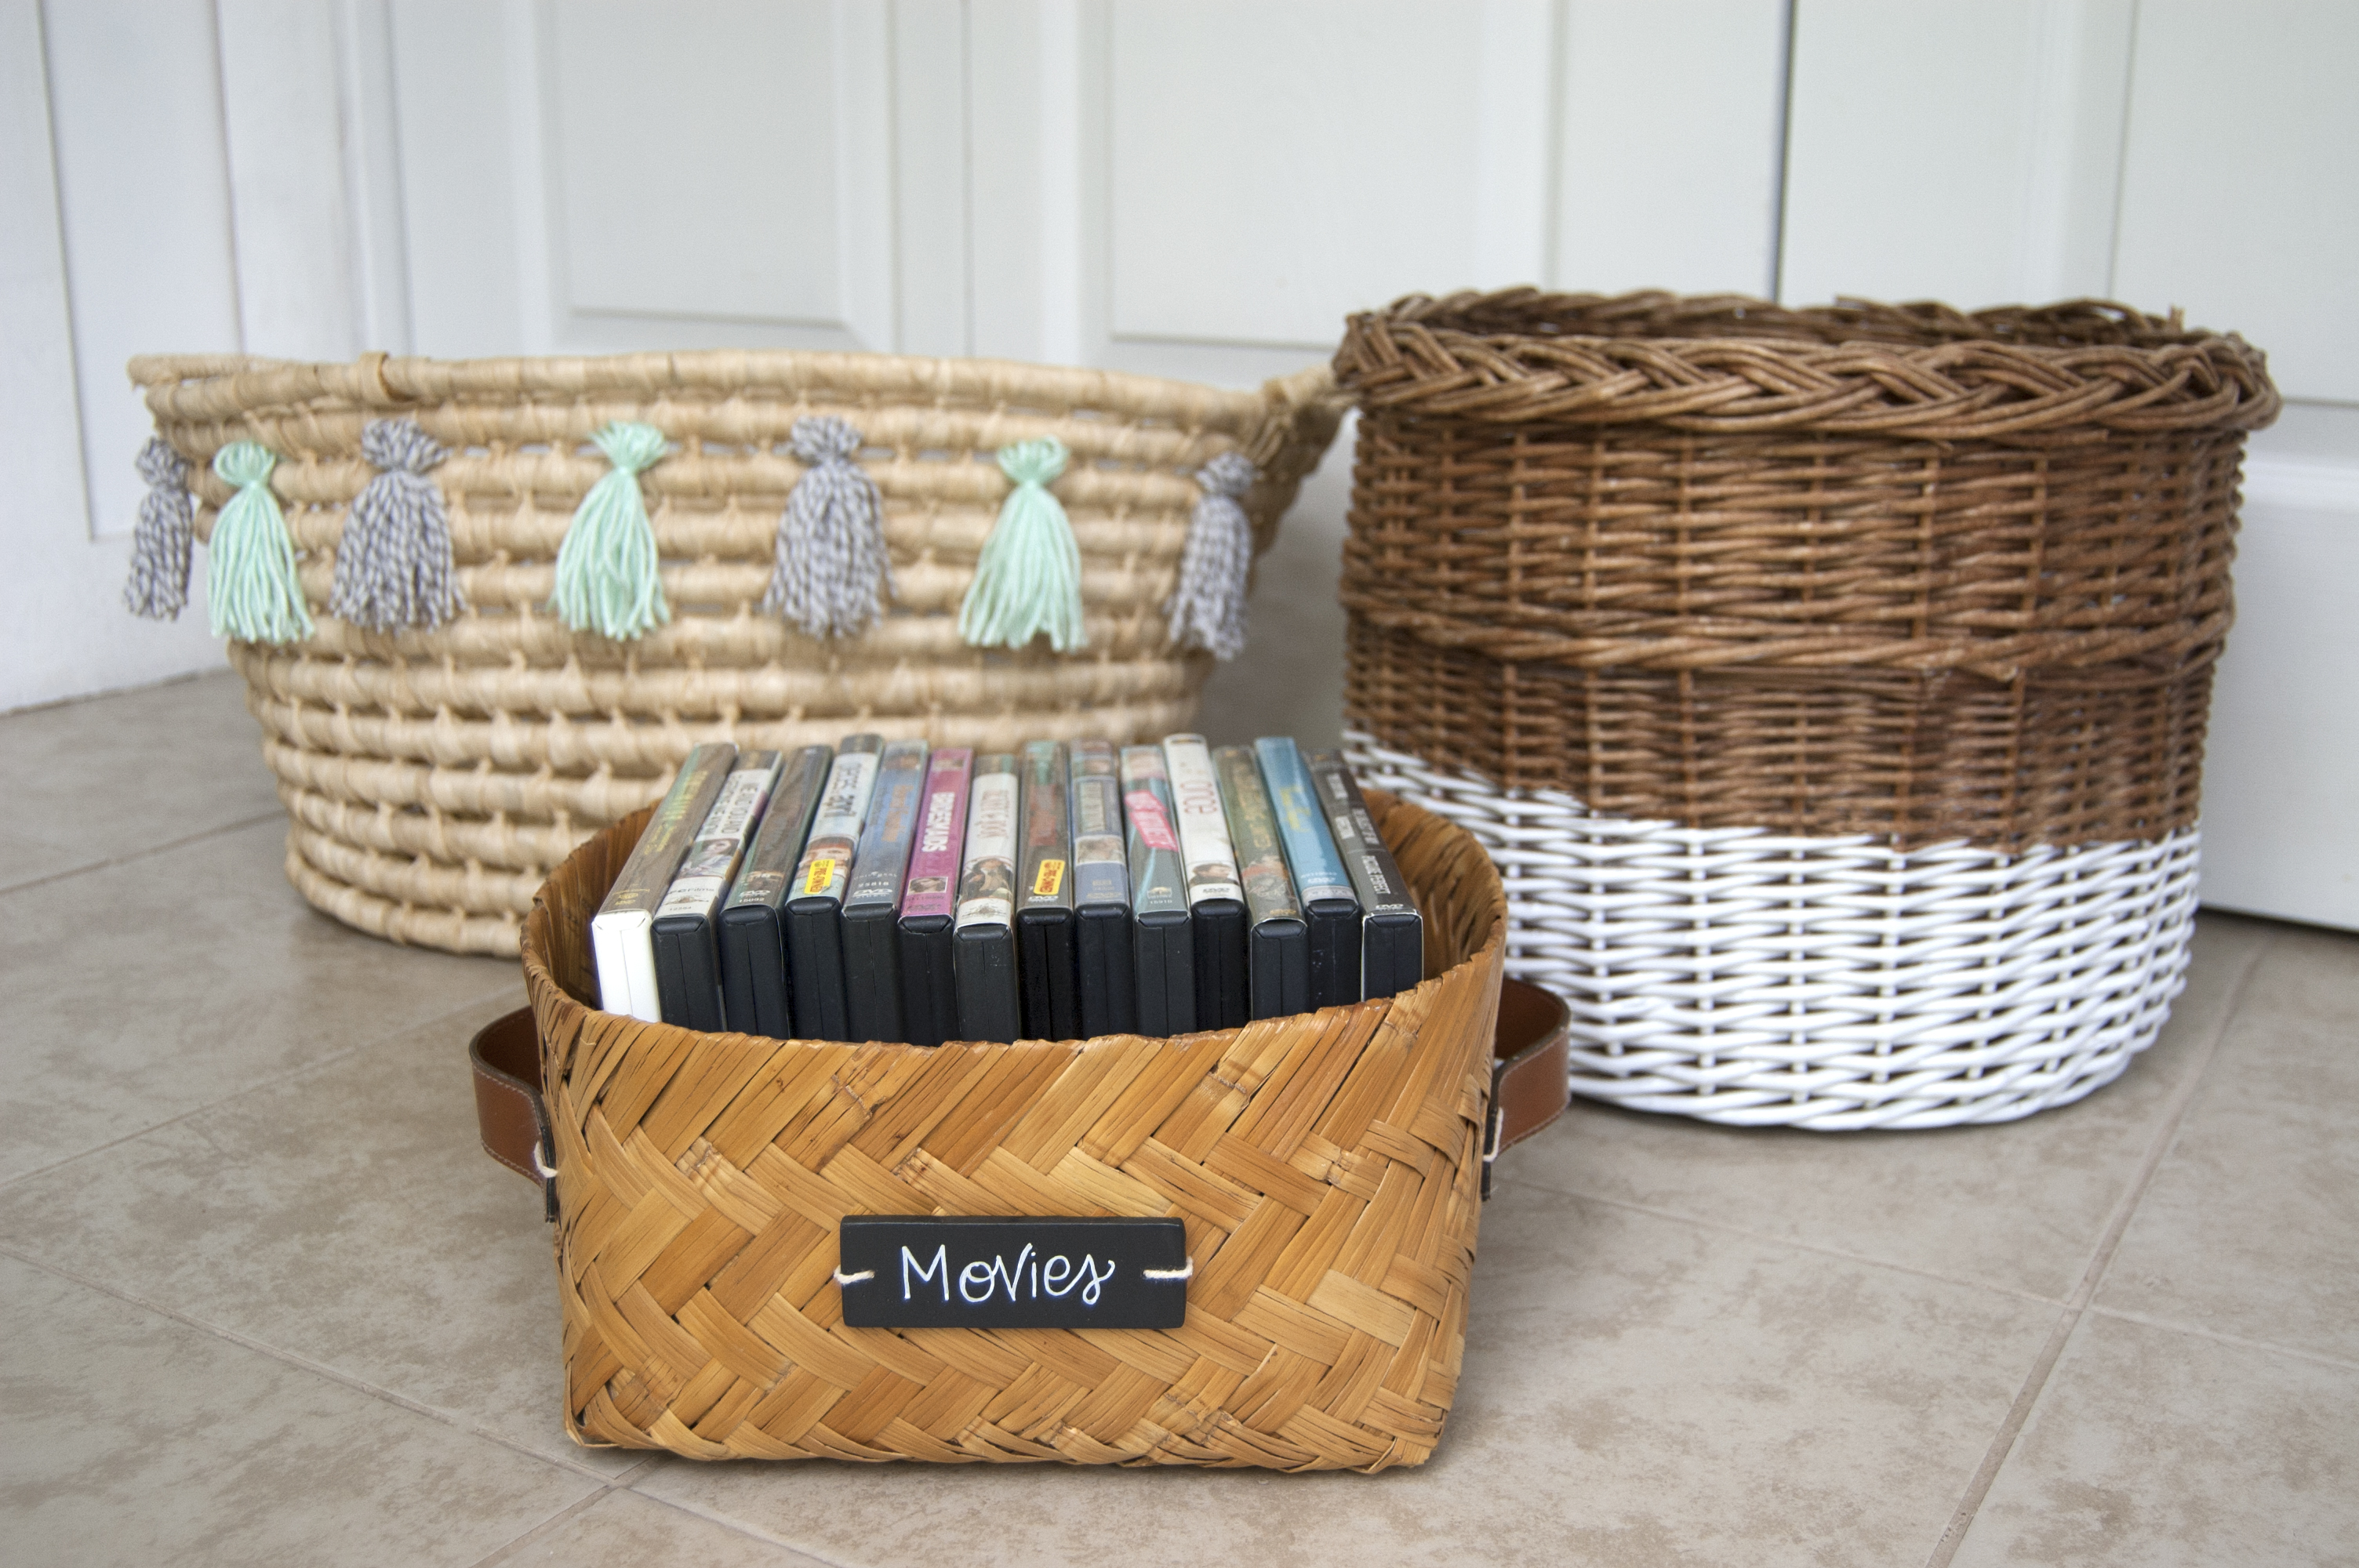
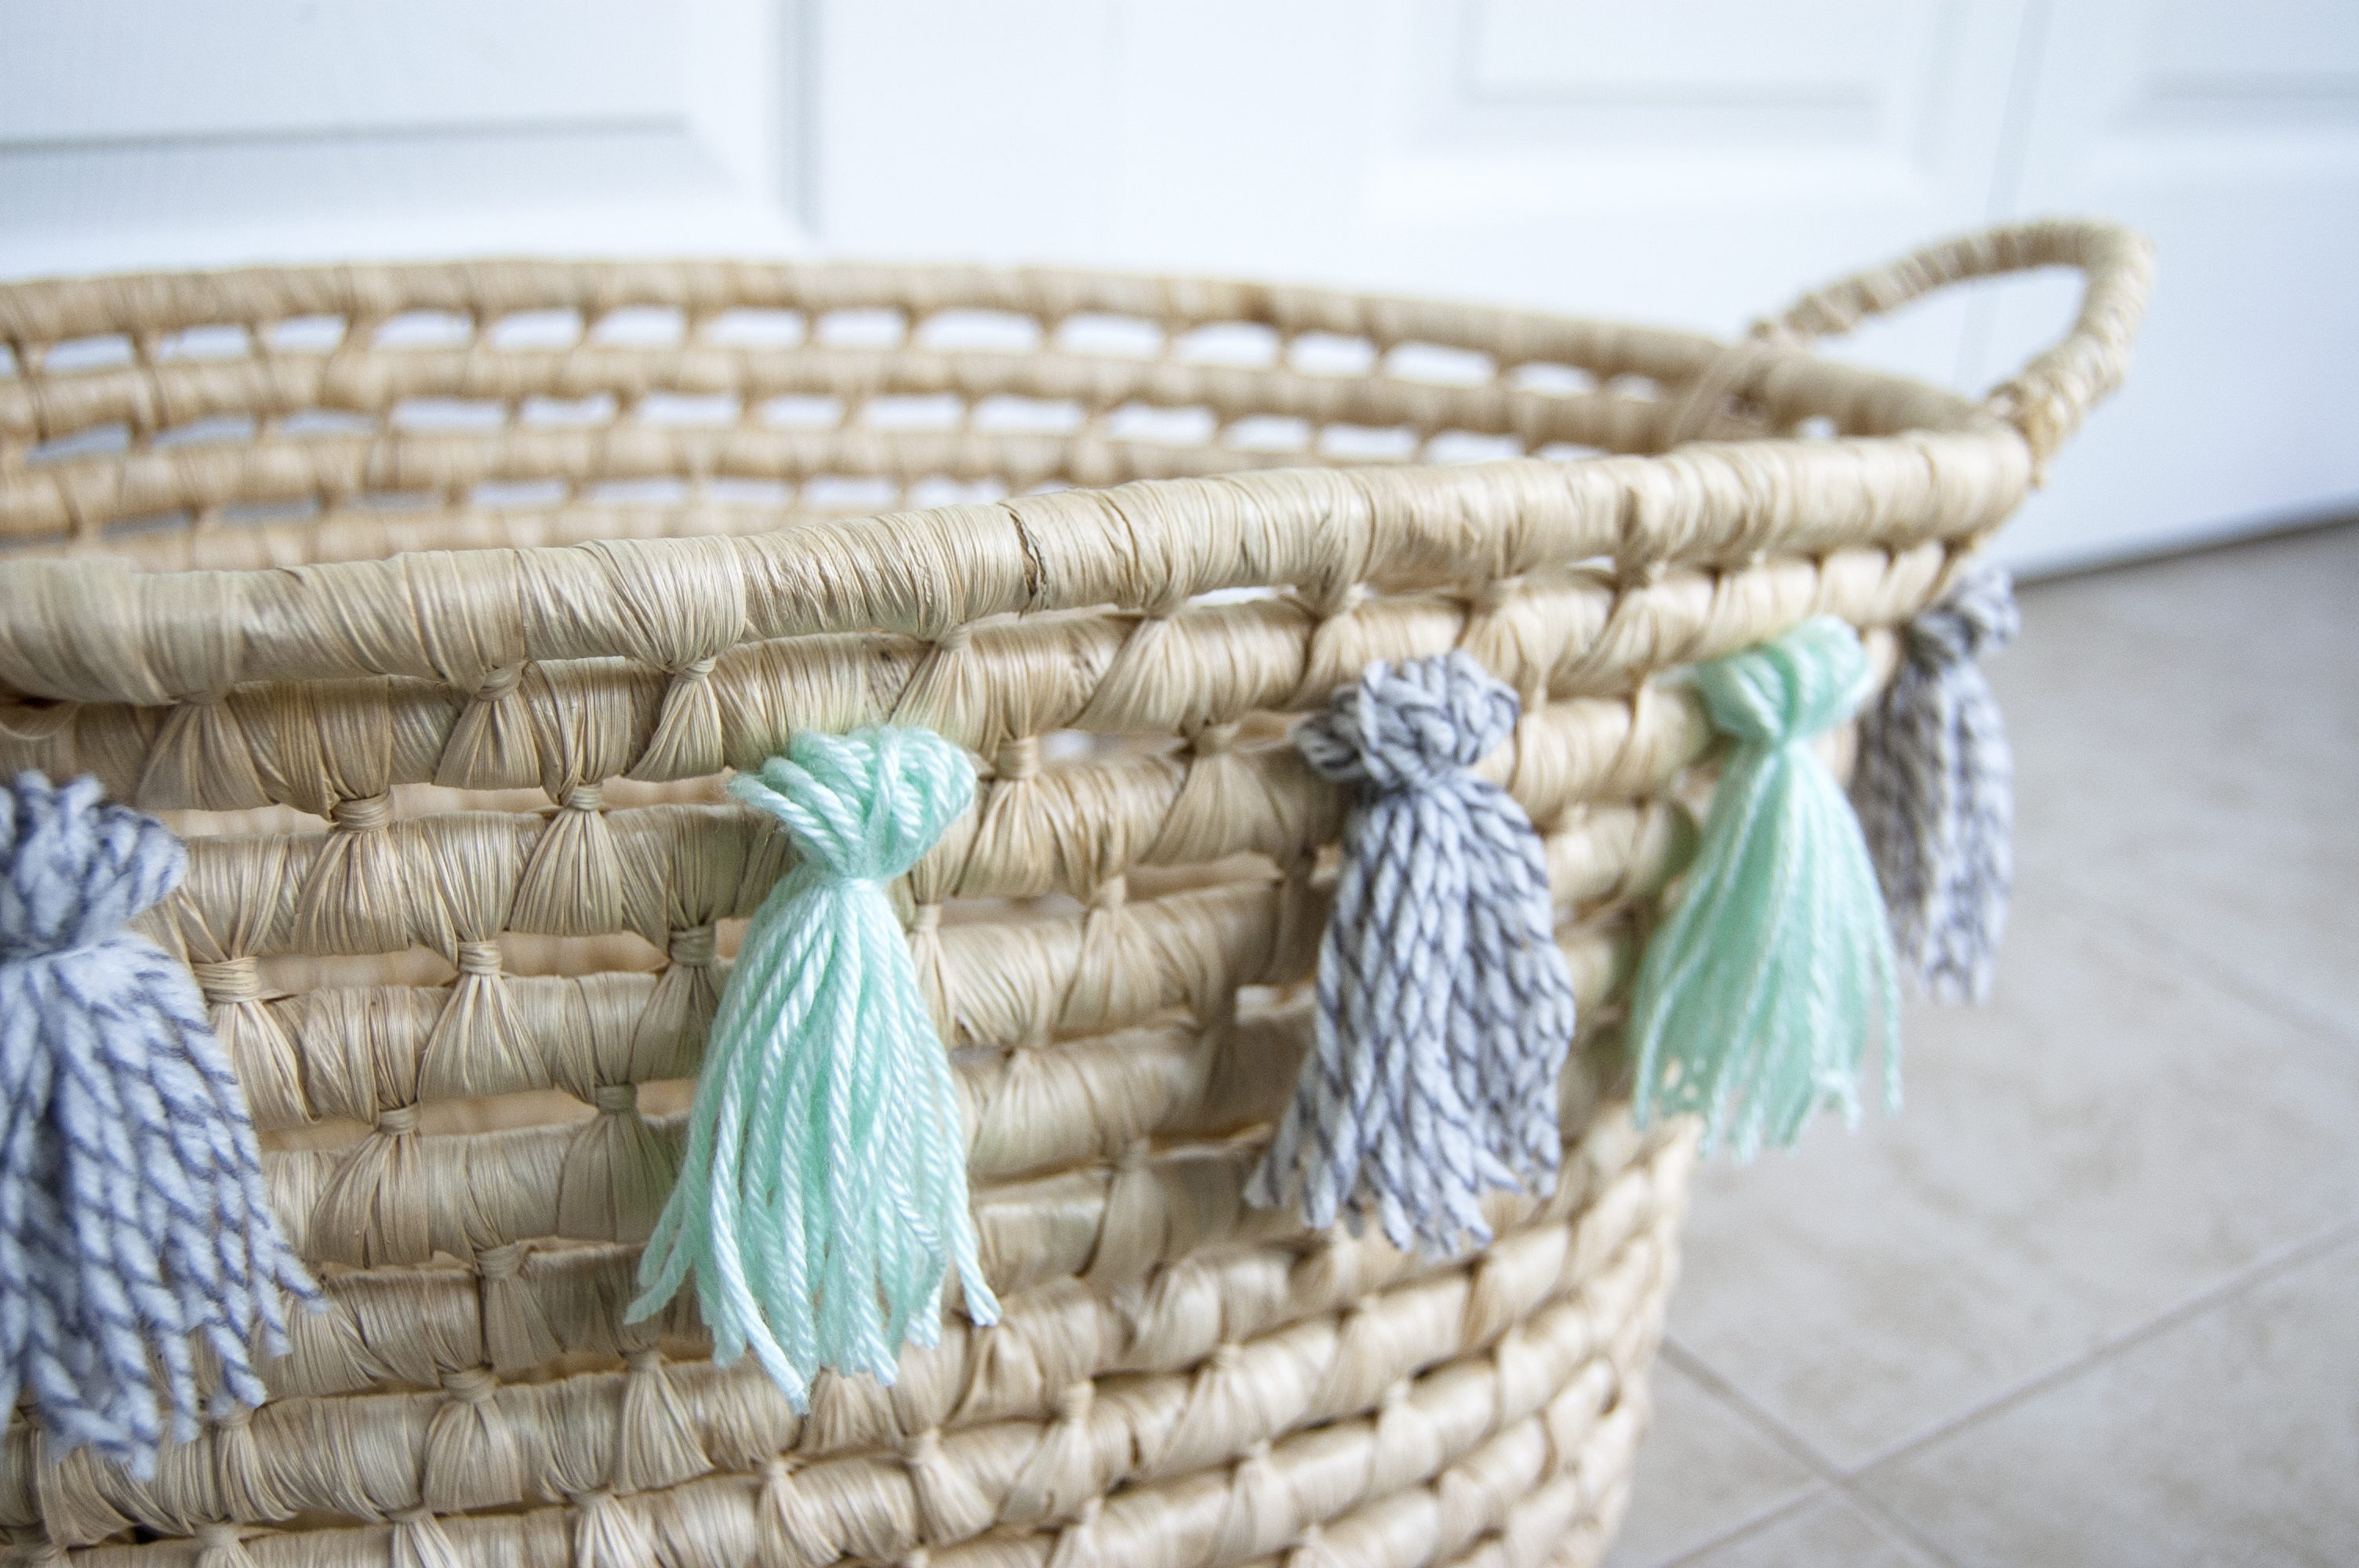
Quick quiz—what screams summer, makes organizing a cinch in any place at all (even on the go!), and is waiting for you at your local Goodwill? Thrifted baskets! From burly laundry baskets to breezy woven seagrass, these permanently picnic-ready decor pieces will feel right at home in every room of your home and even out on adventures! Today we’ll highlight three quick and easy ways you can customize thrifted baskets for looks and functionality.

To add trendy tassels you’ll need:

  • A basket
  • Yarn
  • A small book or something else that makes just the right size tassels
  • Tapestry needle (Optional—can be helpful if the basket’s weave is tight)

Step 1: Wrap the yarn around the book (or whatever you found) until it looks thick enough. I went around 18 times. Slide the loops off of the book and cut along one end.

Step 2: With the yarn still folded in half, place a new length of yarn through the center of it. Then, lay that on top of another horizontal string. Double knot the horizontal piece of yarn around the tassel. You can wrap this around as many times as you want before tucking the ends inside the tassel if you want to (I kept it simple with mine).

Step 3: Repeat steps one and two until you have enough tassels.

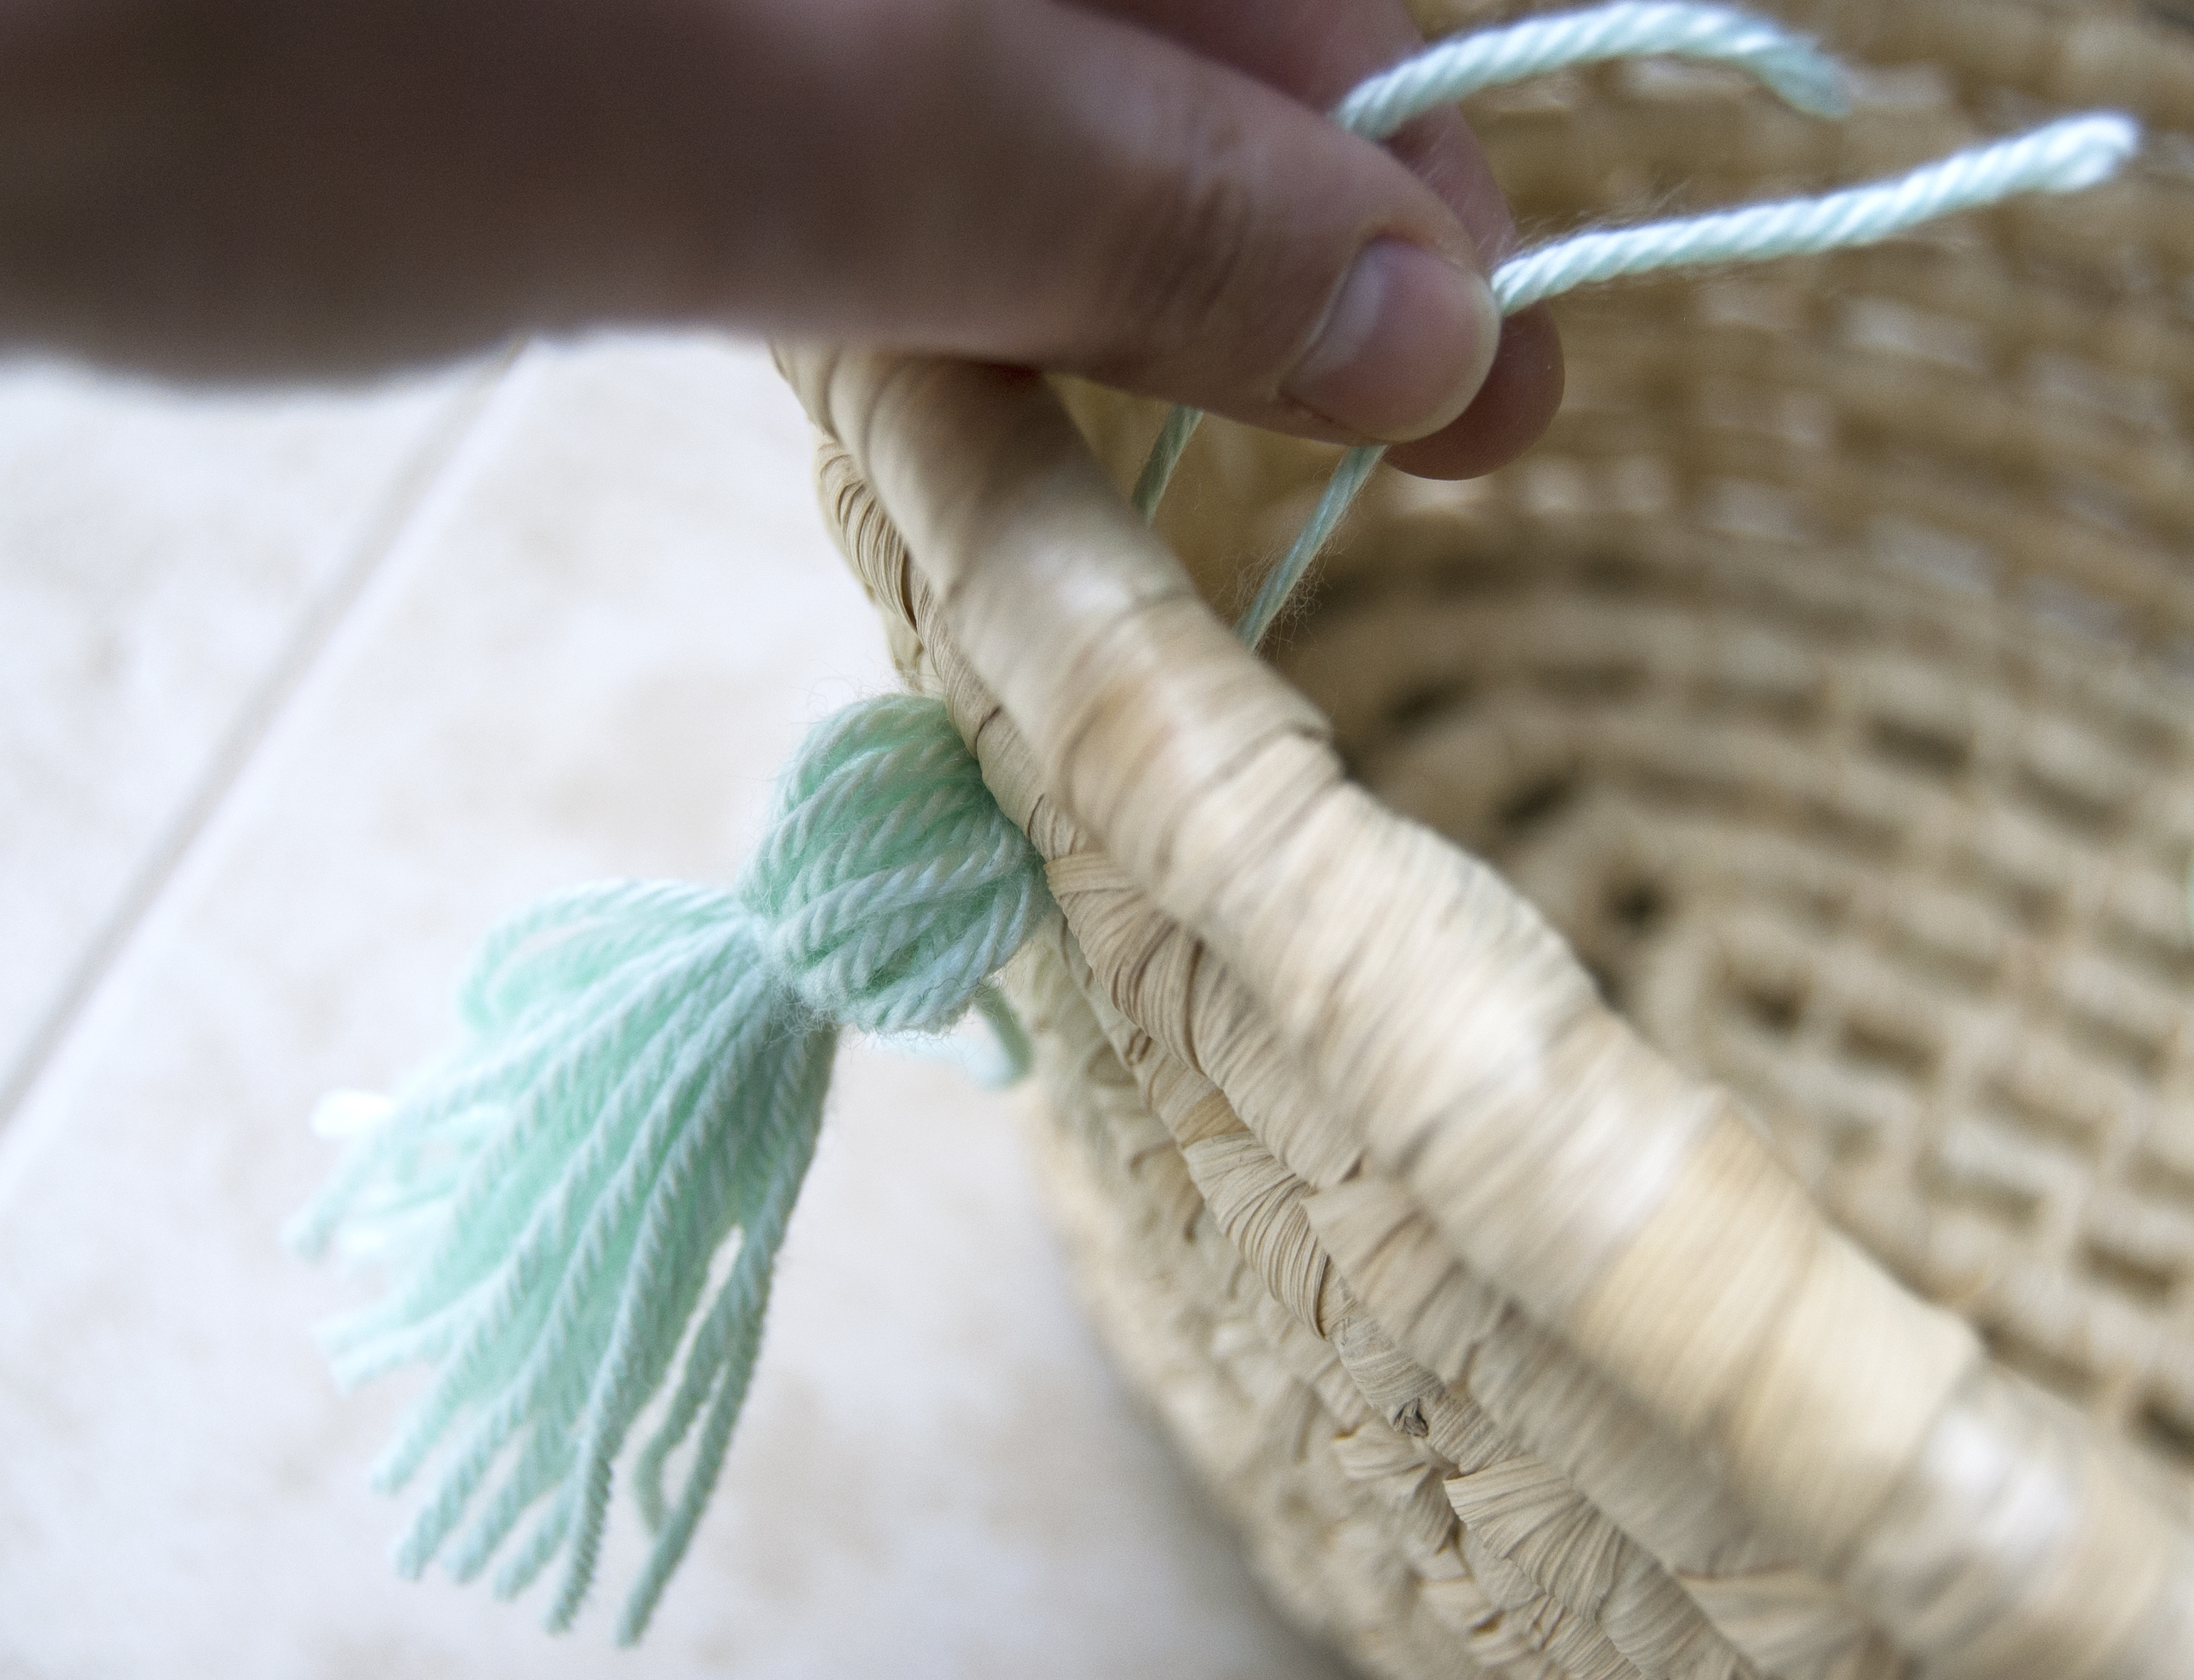
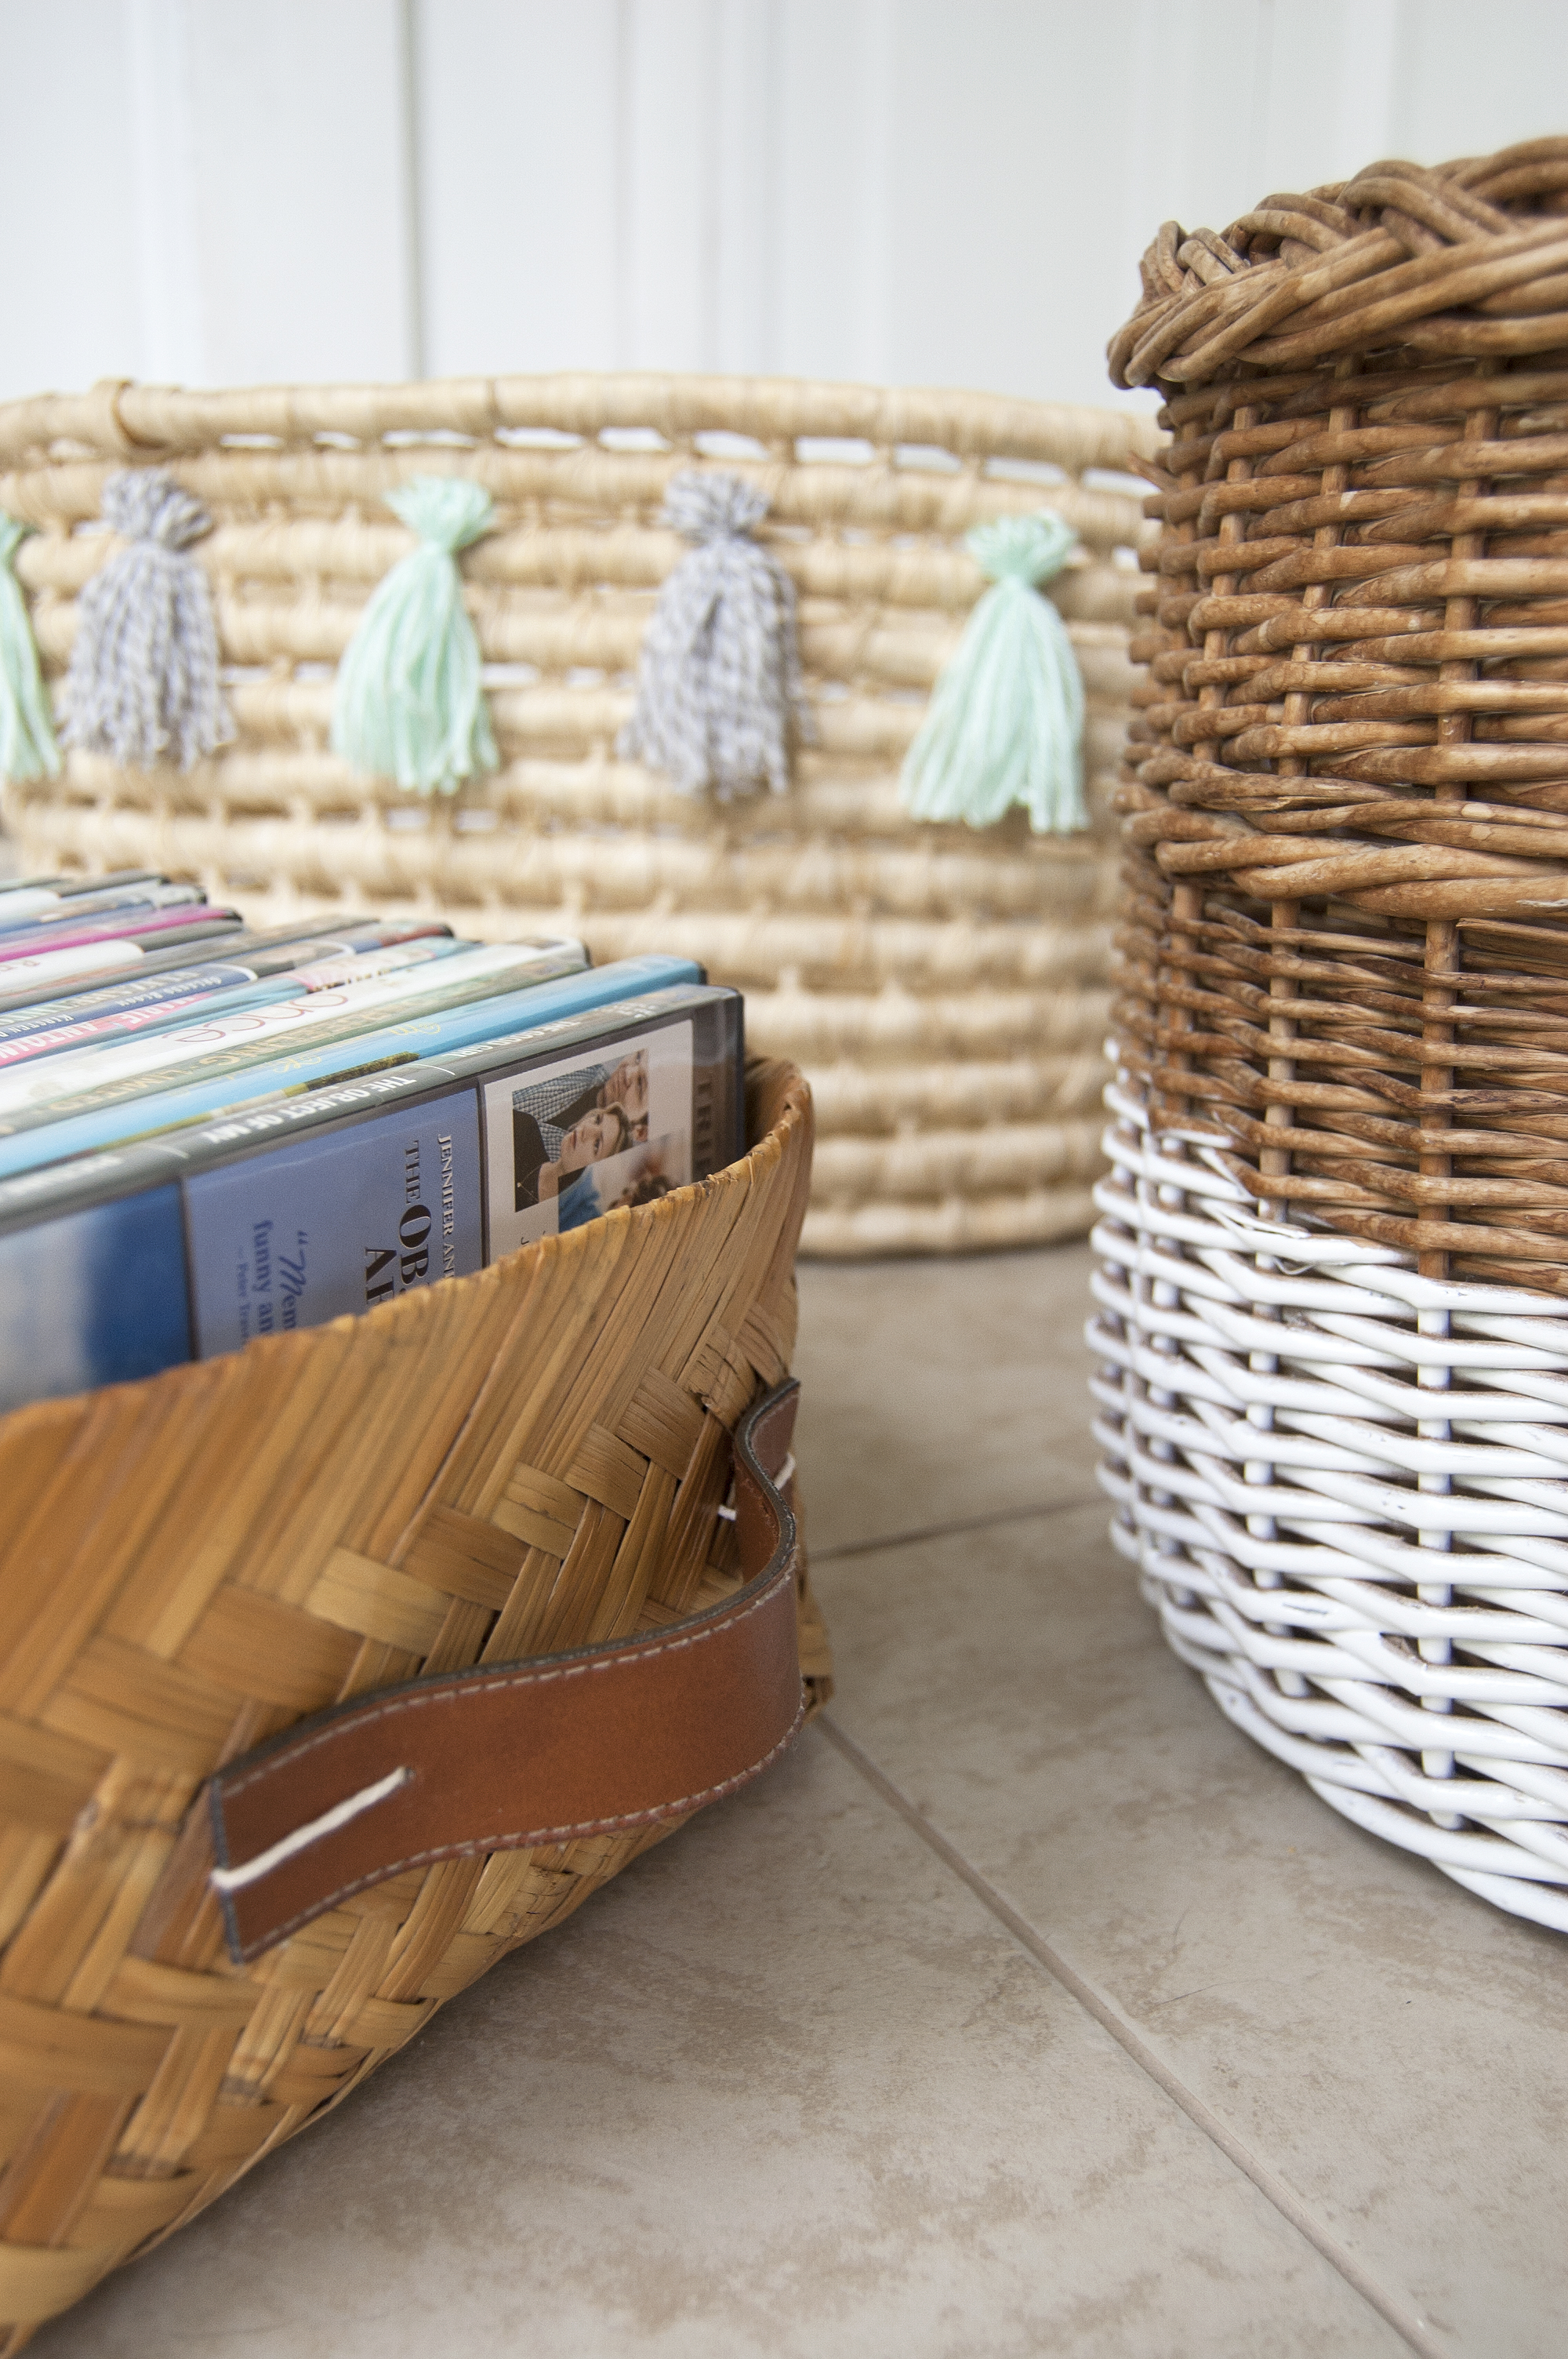
Step 4: With the knots you just made placed against the basket, thread the top strings of the tassels through the basket and double knot them in place around the weave. If your basket’s weave is too tight for you to do this with just your fingers, use a tapestry needle to get through the narrow nooks. Do this, evenly spaced, all the way across the top of the basket.

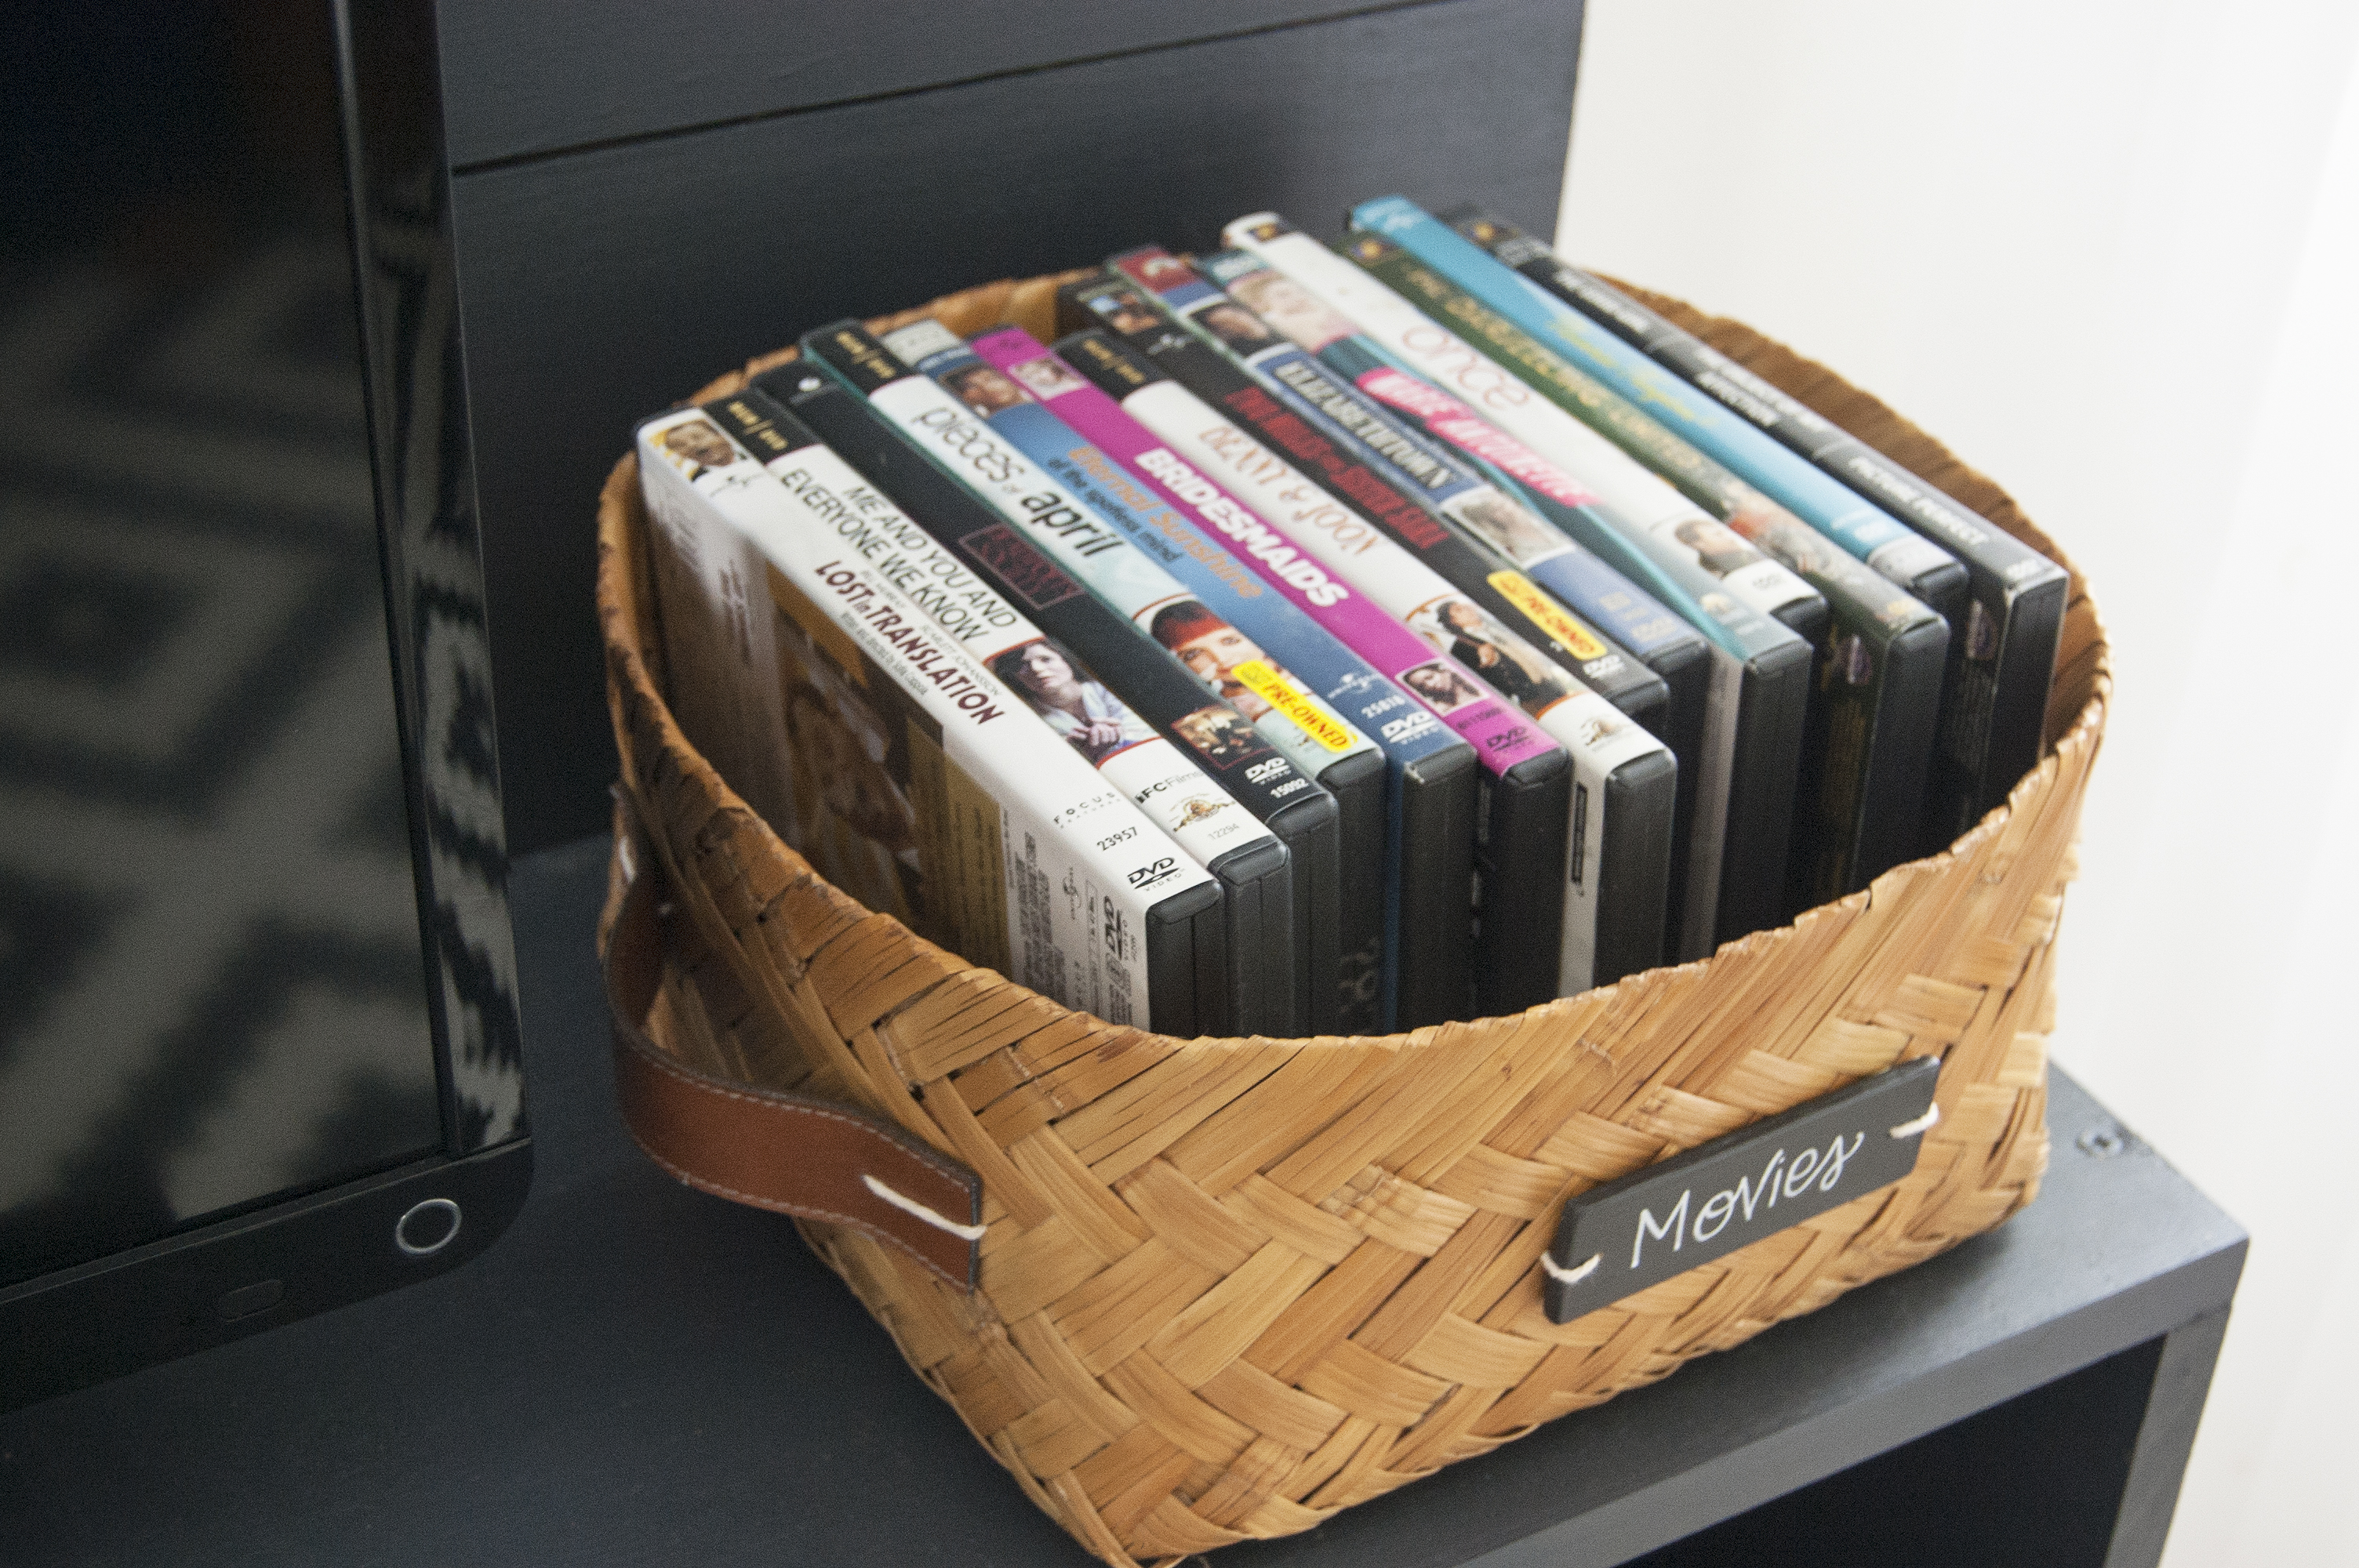
Next up, I loved the unique shape of this square basket that I spotted while out thrifting, but I knew that adding some handles would make it easier to carry while full. While I was at it, I figured I’d just slap on a chalkboard label, too, so I could stick it up high on a shelf if I wanted to and I’d still know what was inside.

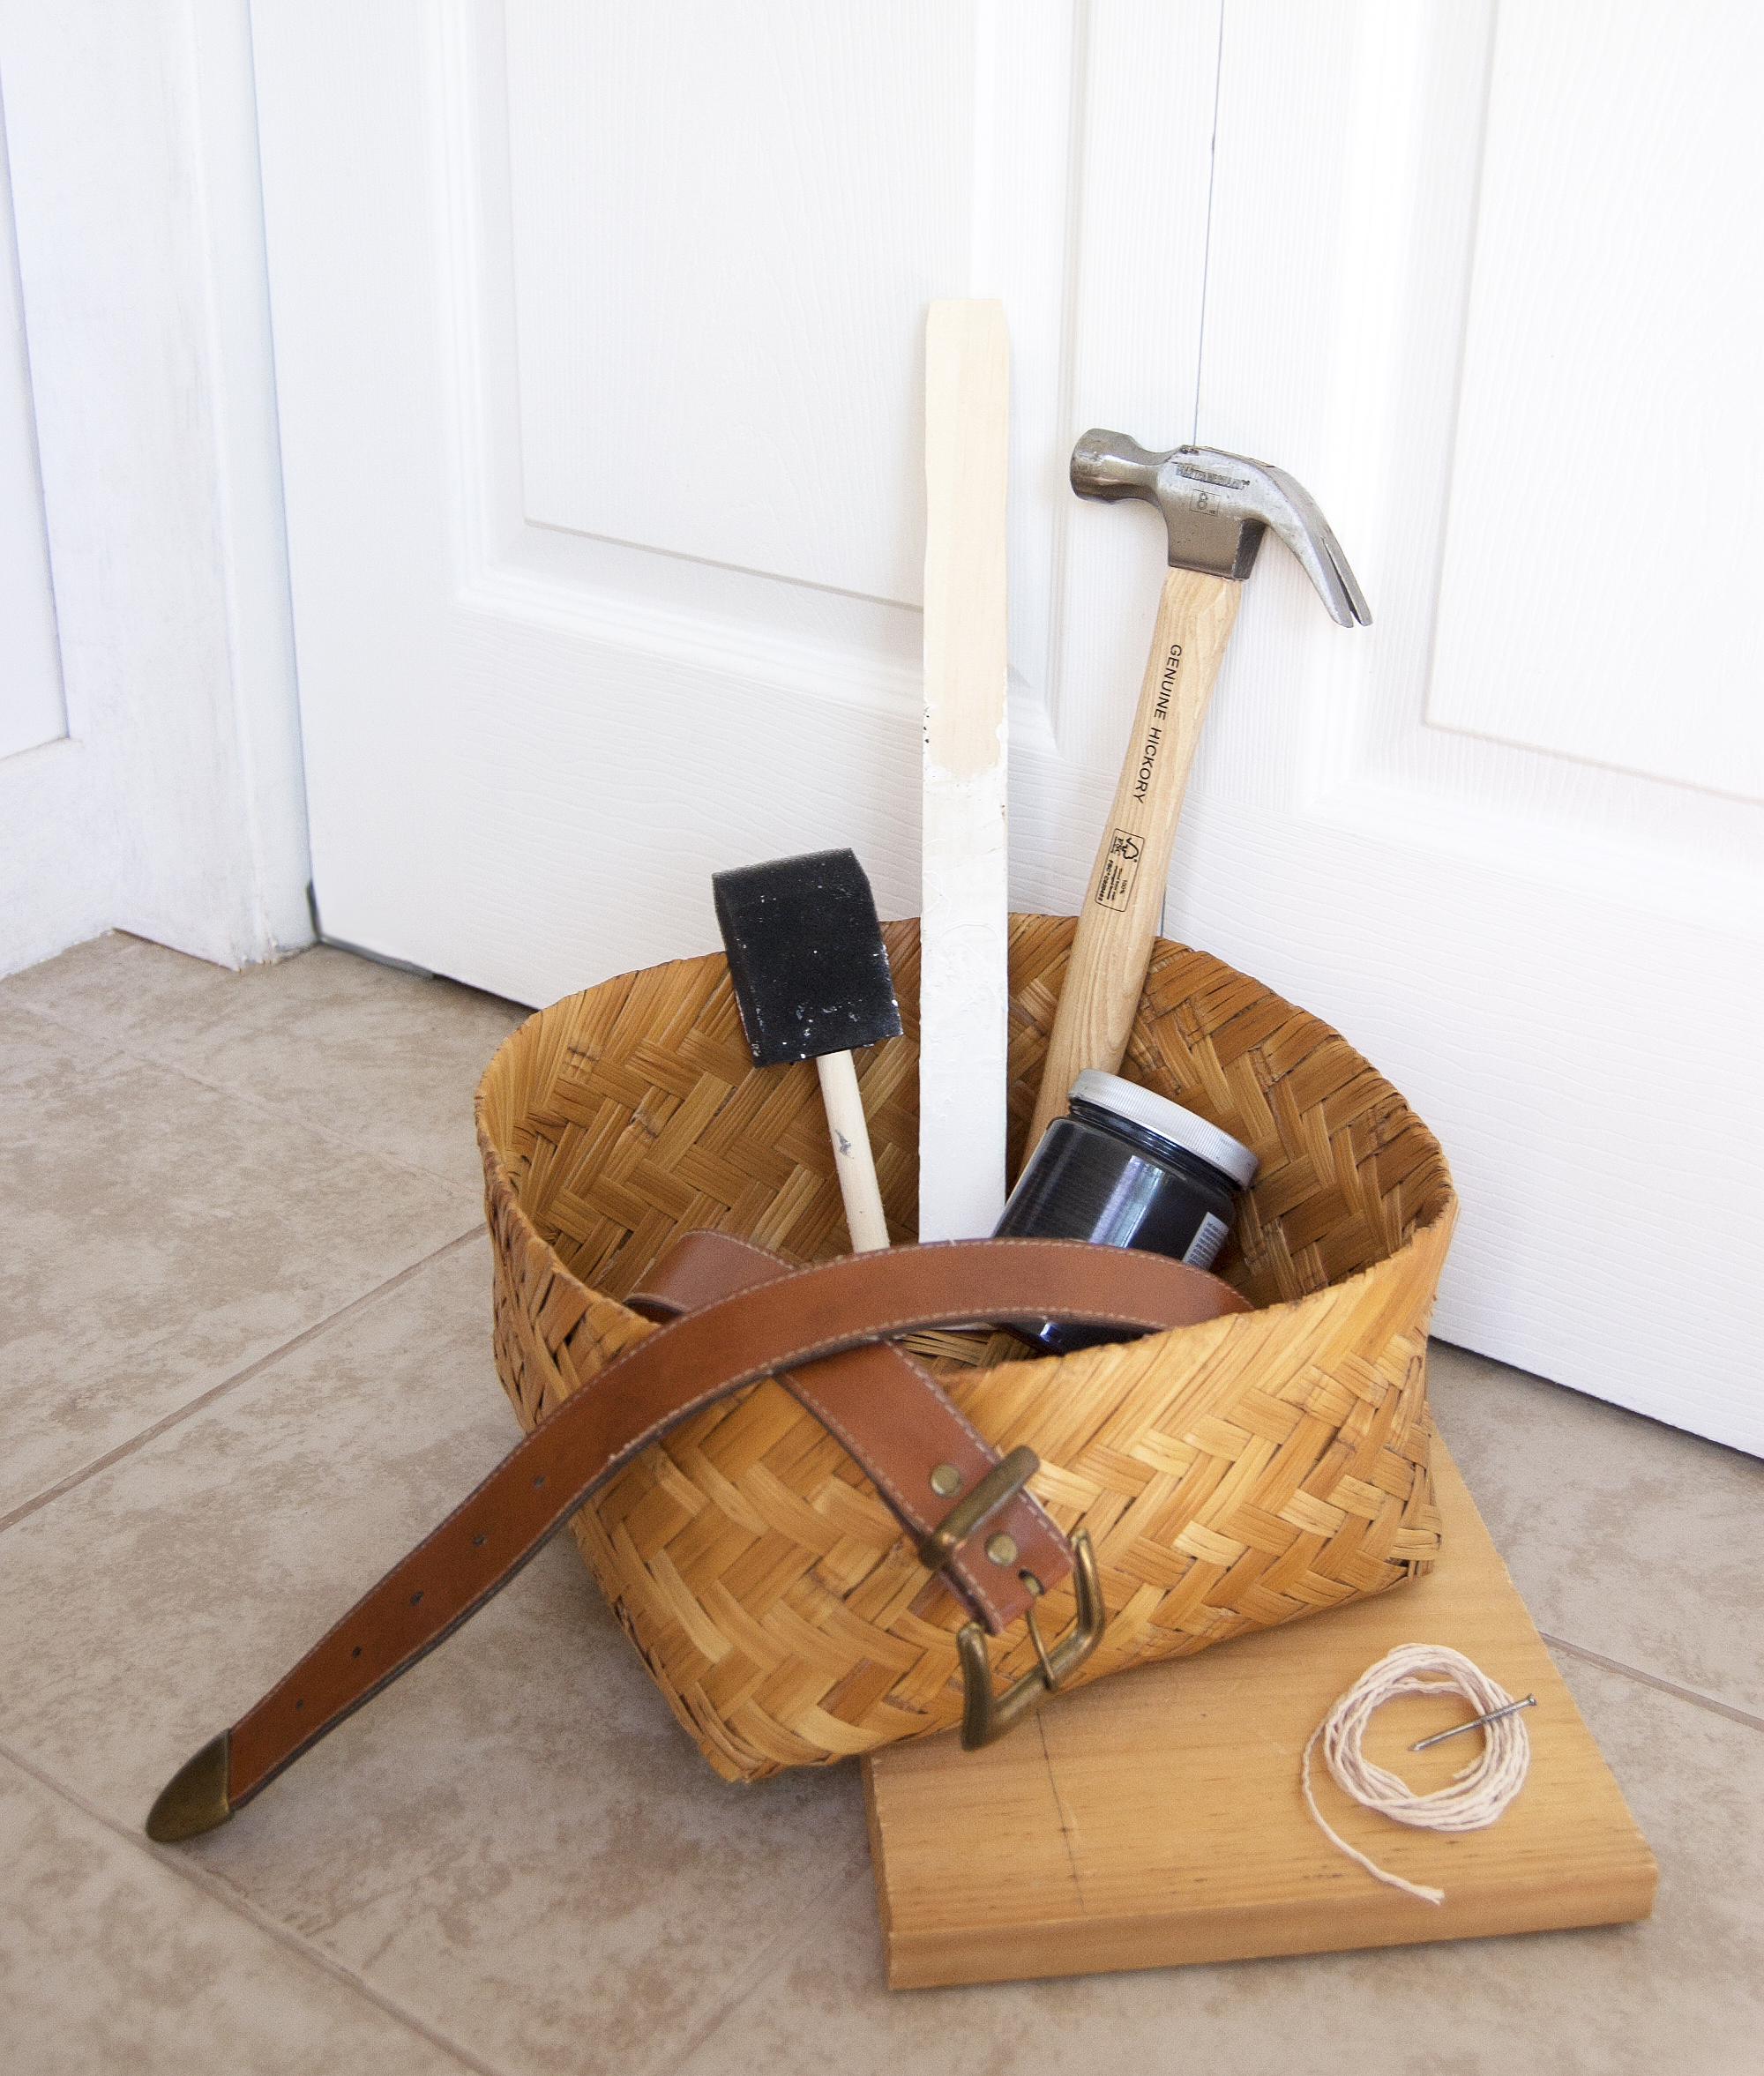
To add handles and a label you’ll need:

  • A basket
  • Faux-leather belt
  • Tough string
  • Tapestry needle
  • Paint mixing stick (or similarly thin wood)
  • Saw to cut the paint mixing stick
  • Power drill with a small bit (I used 1/8” bit)
  • Small paint brush
  • Chalkboard paint
  • Hammer
  • Nail
  • Scrap wood
  • Chalk marker
  • Sandpaper

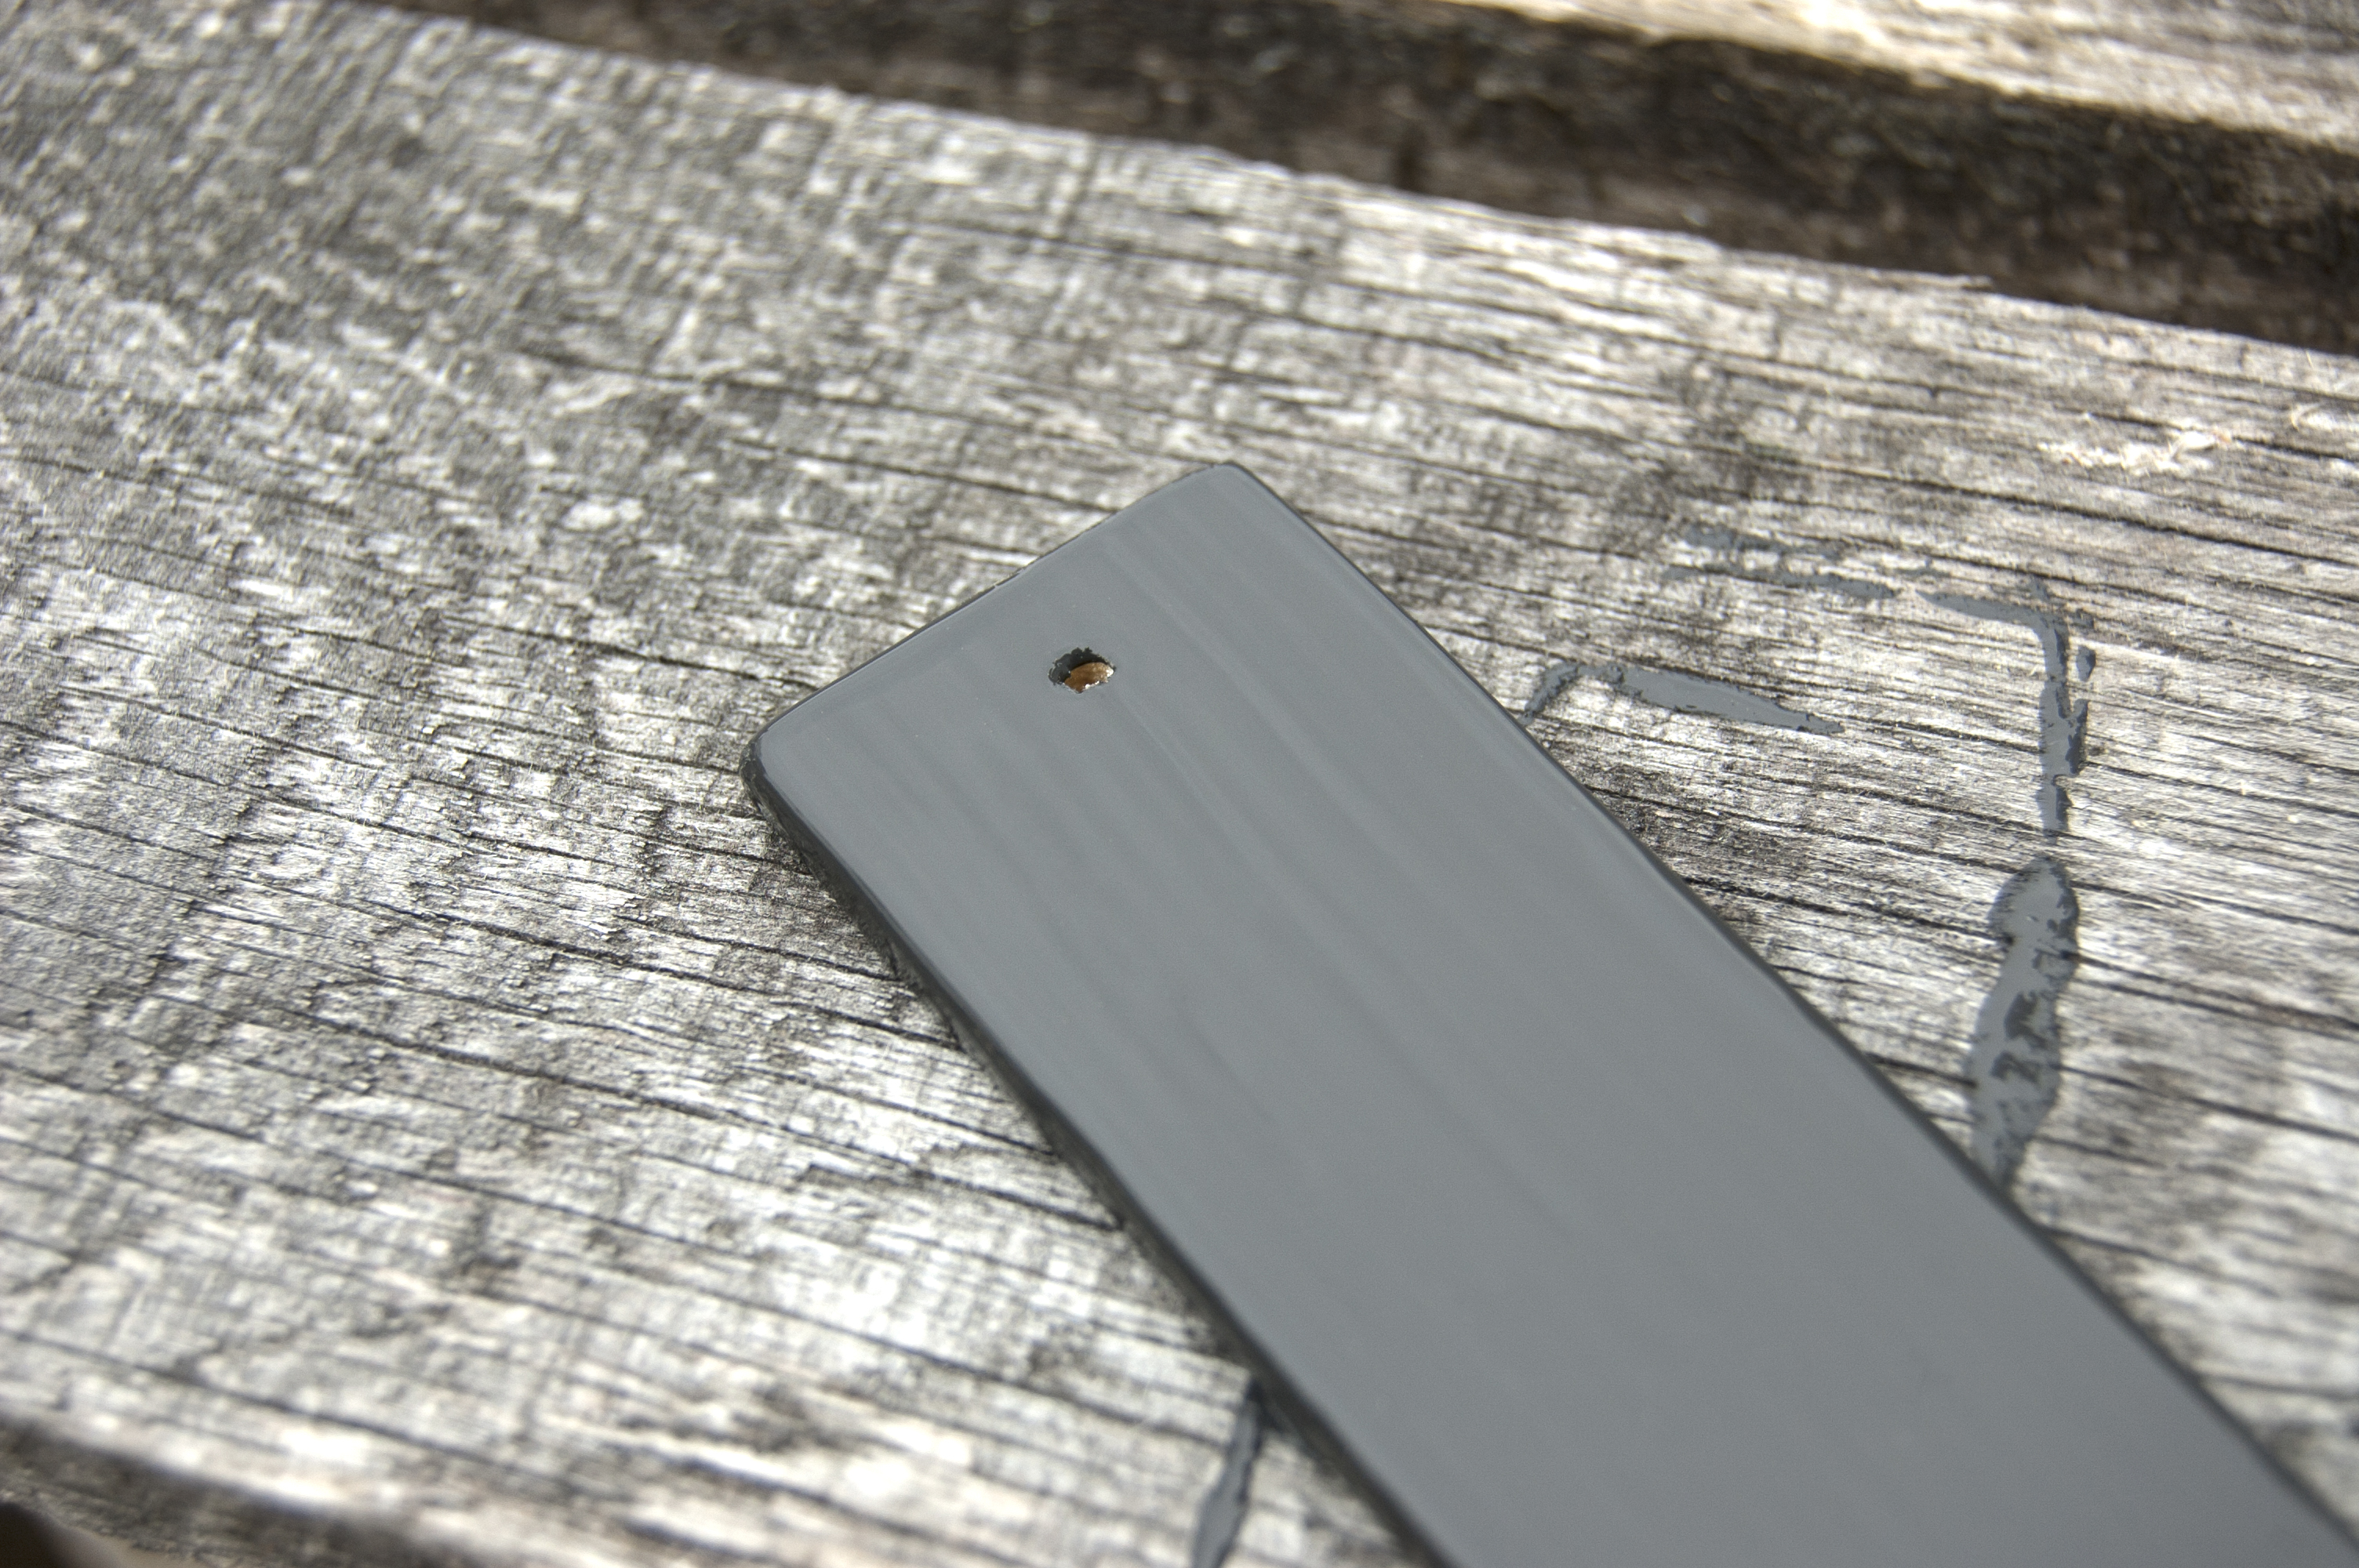
Step 1: Cut your thin wood to the right size for your label. I used a saw to slice a 3.25” long section of the paint mixing stick. After that, drill two small holes toward either end of the label. Sand all sides well then wipe off the dust. Paint with chalkboard paint according to the container’s instructions and let dry.

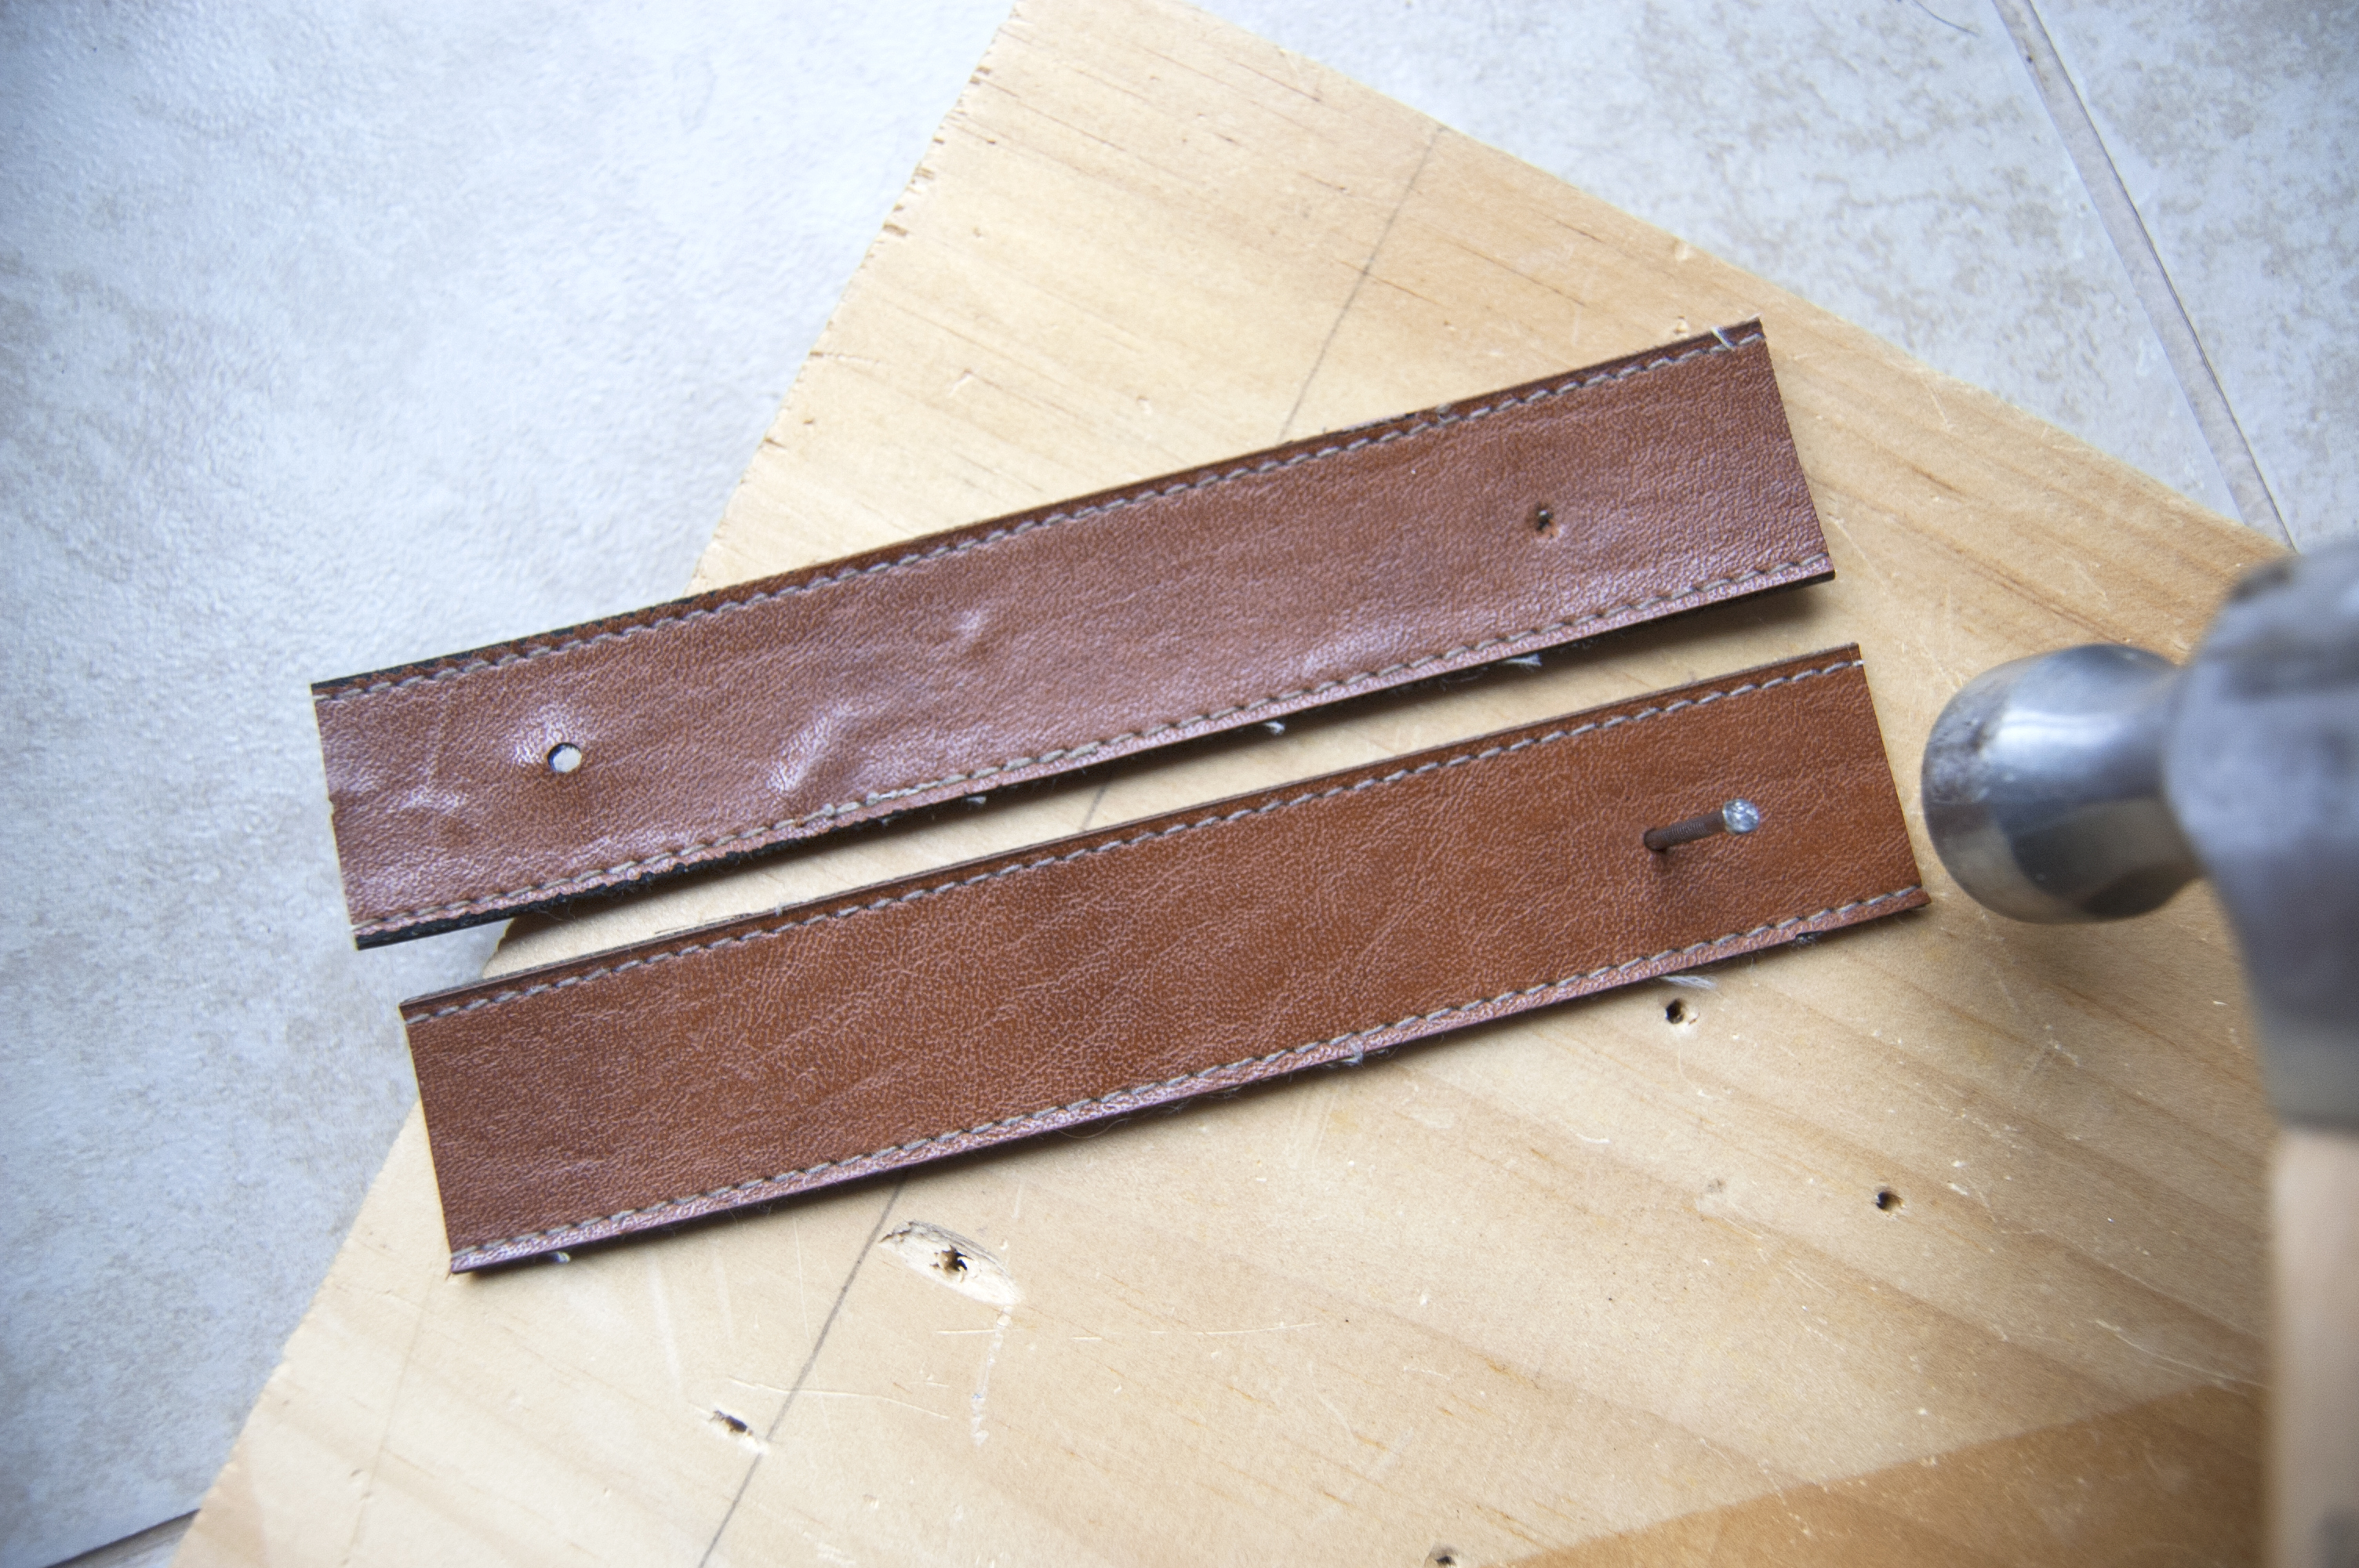
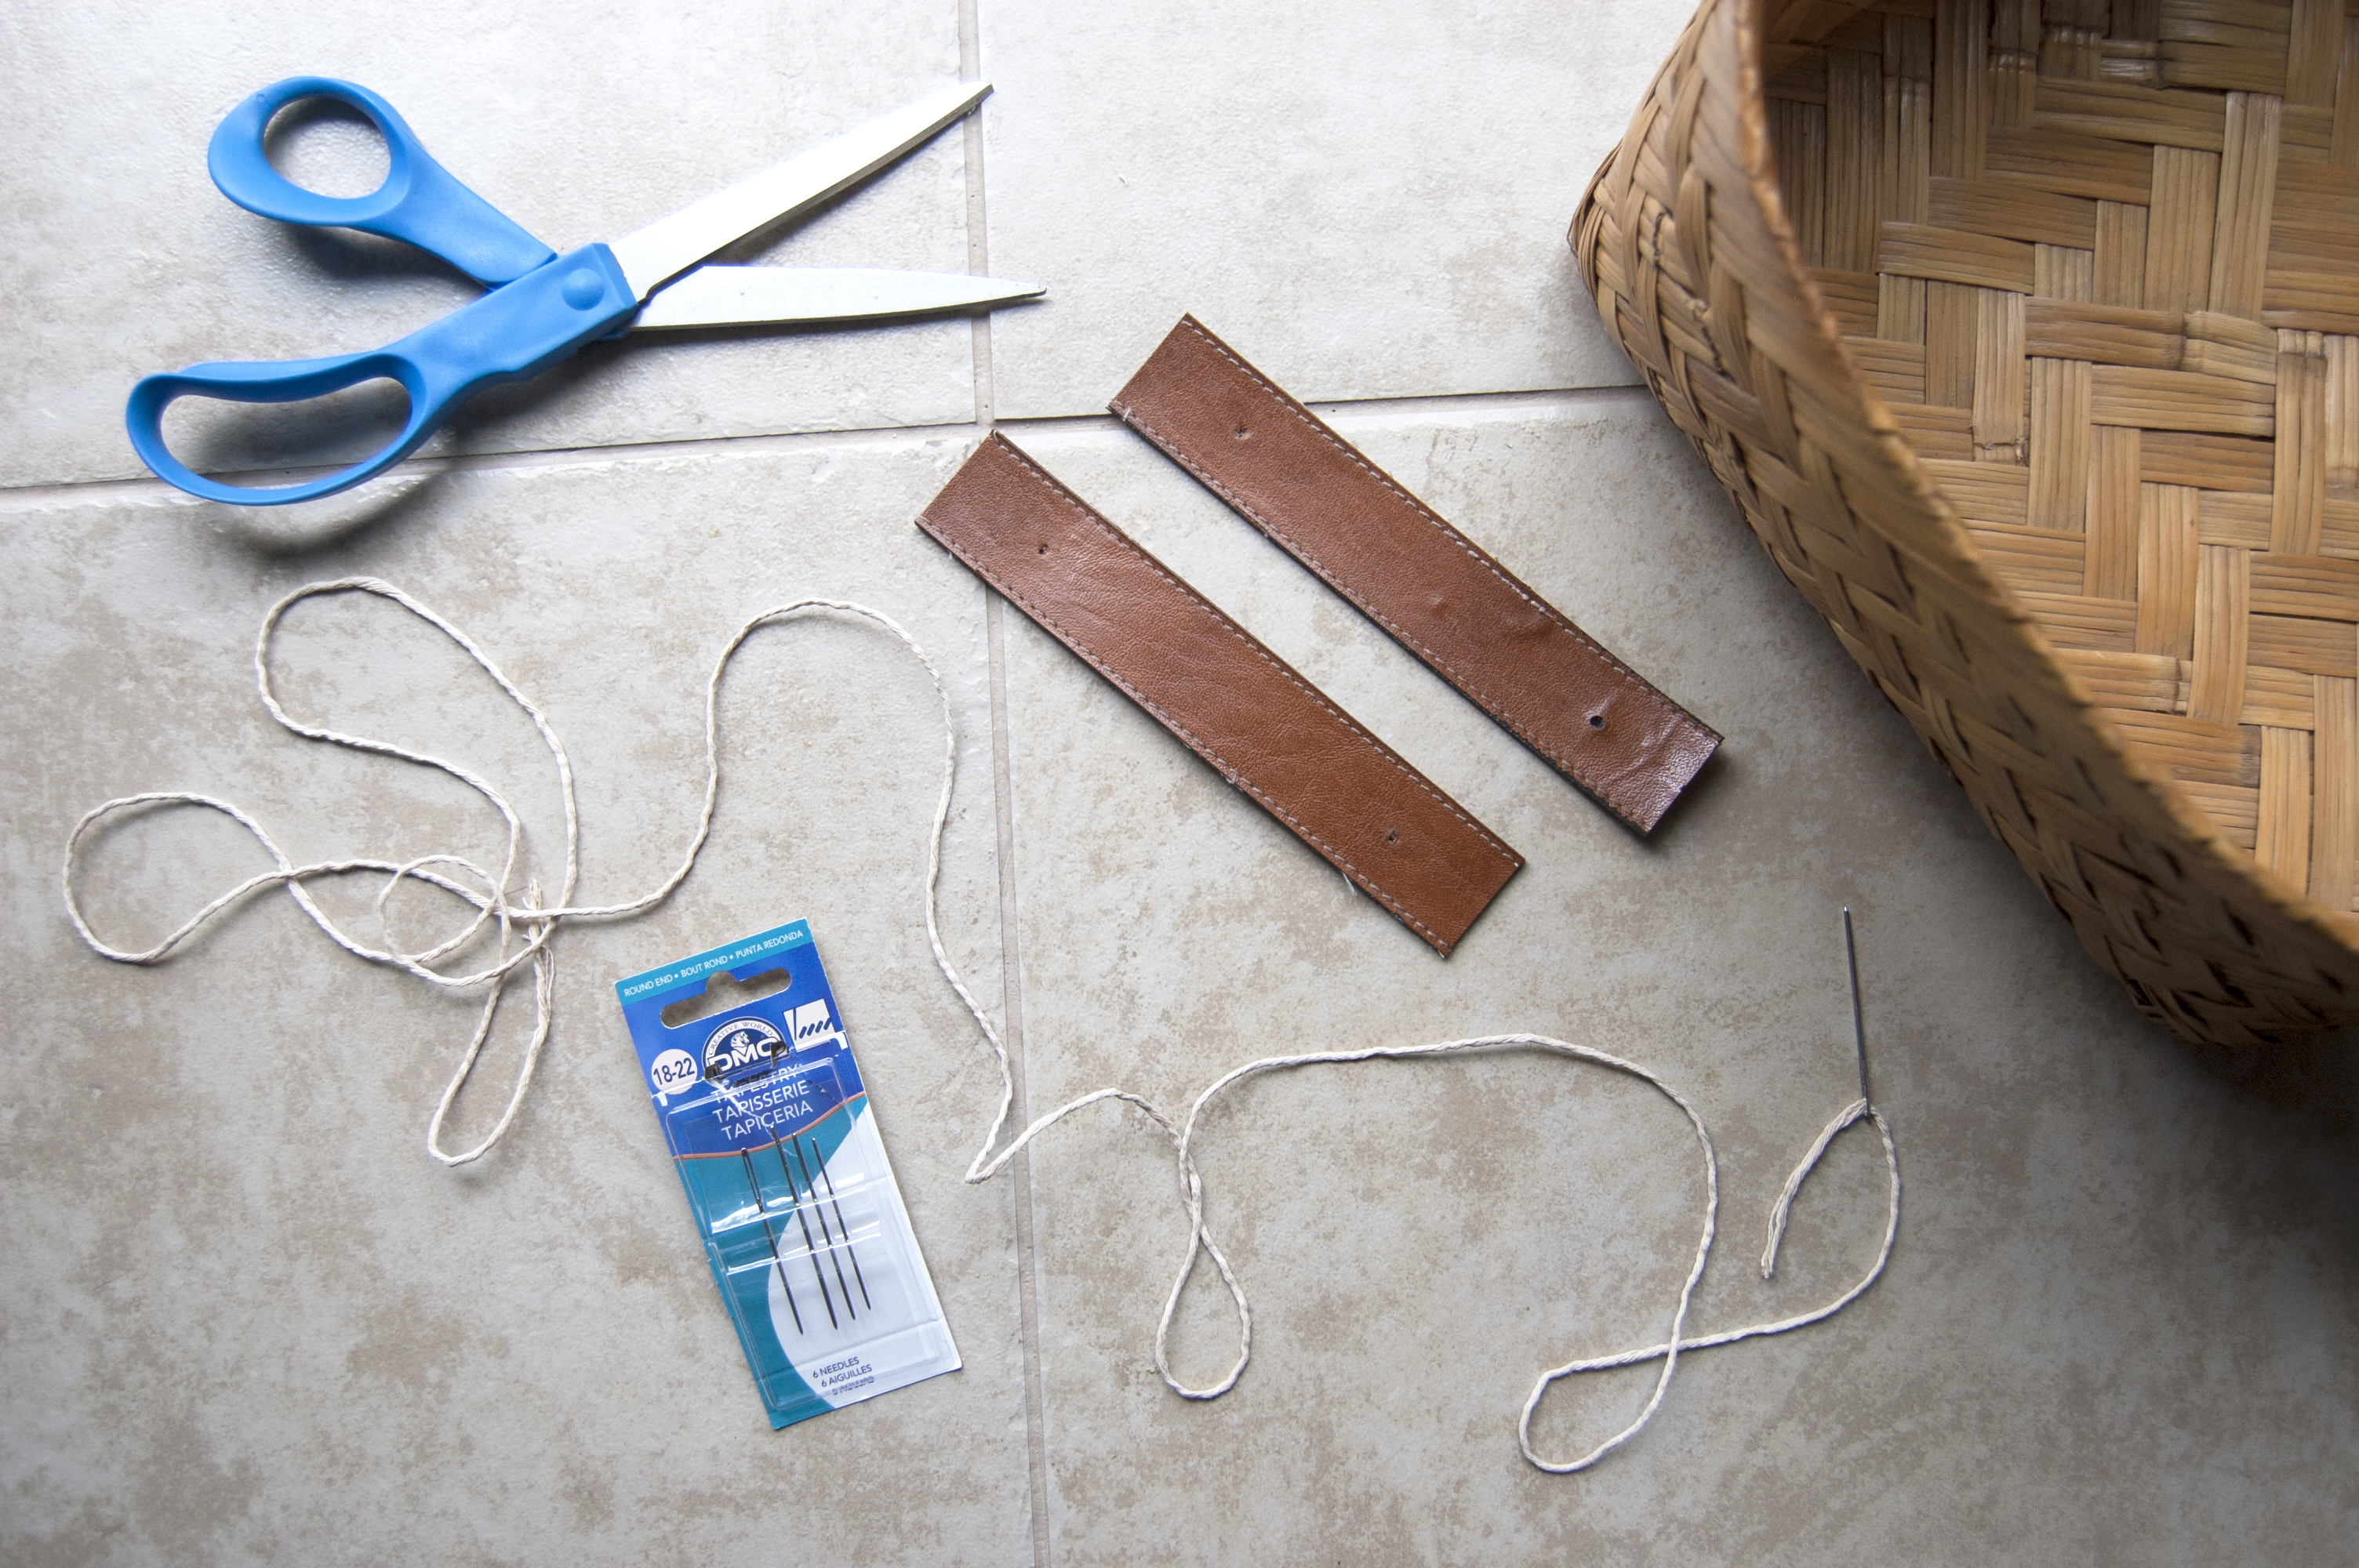
Step 2: Measure two lengths of the belt to make the handles. Mine are each 6” long. Use the actual holes in the belt or add your own holes by hammering them in with scrap wood behind the belt.

Step 3: Thread a length of string through the needle, position the handles and label (after it’s completely dry) wherever you’d like them, and thread them through the basket’s weave to the be secured with a knot on the inside. Try to stitch the needle between the weave of the basket if possible so you aren’t poking holes into the straw/wood itself.

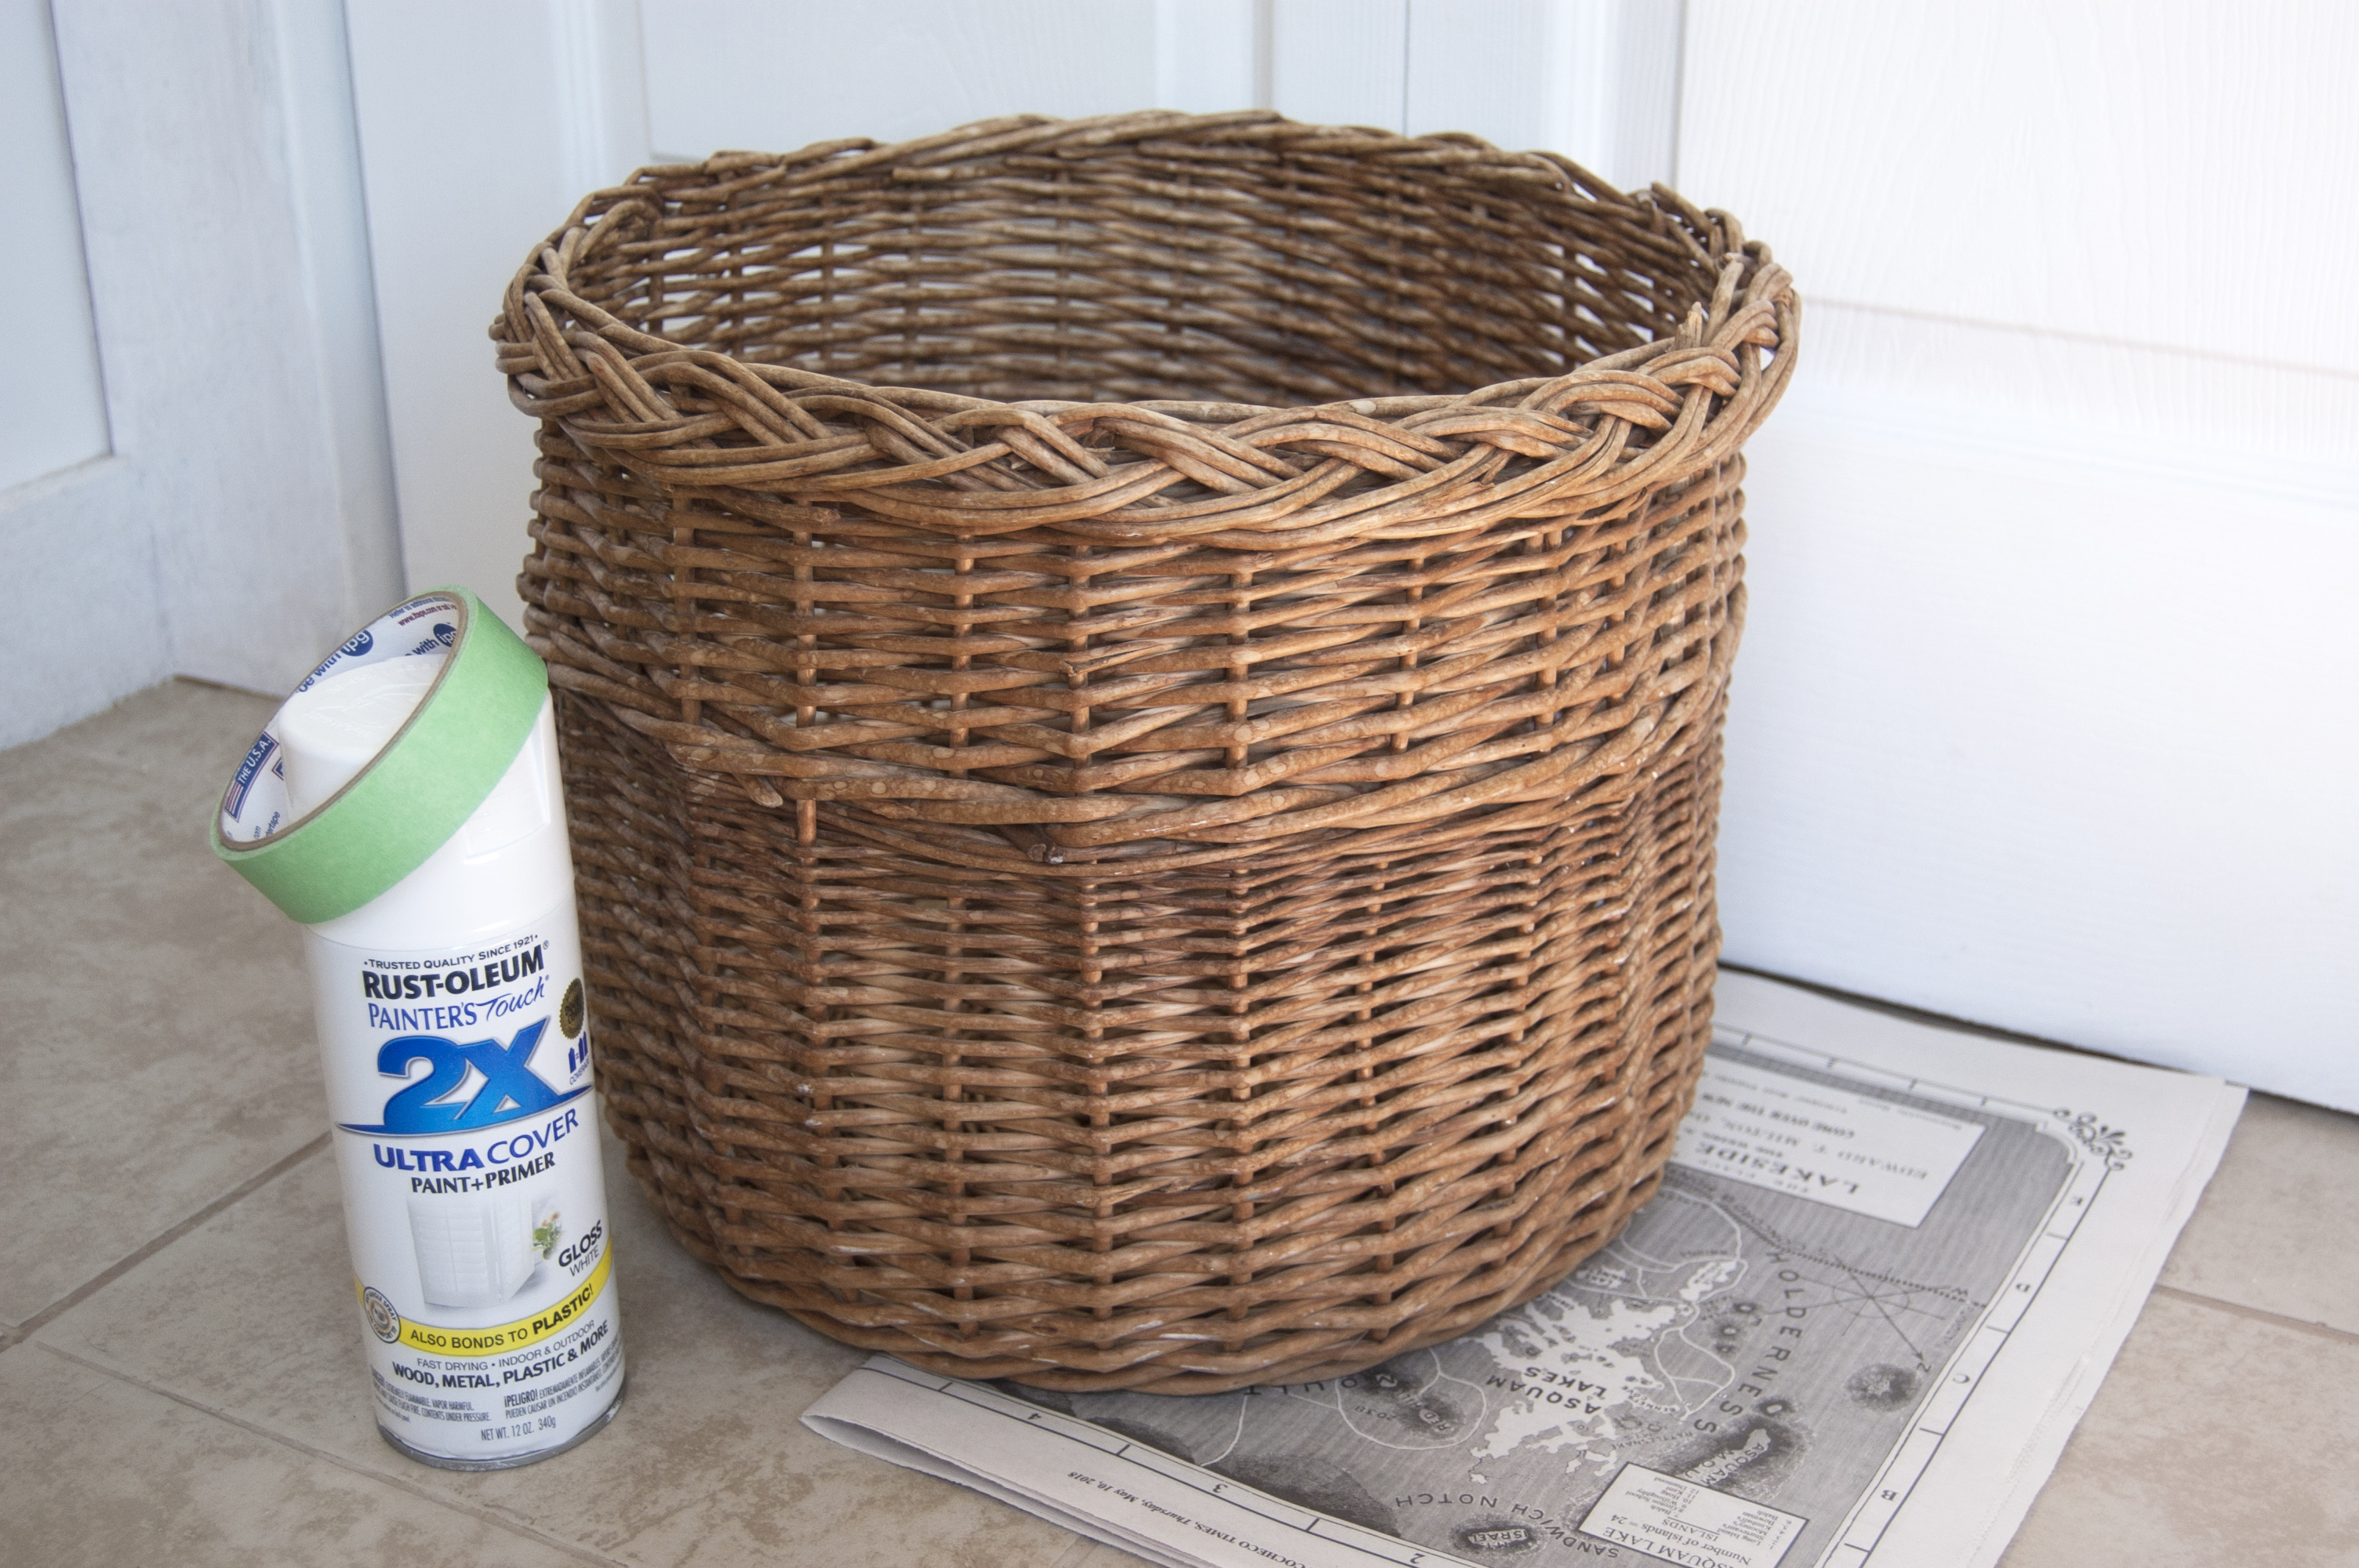
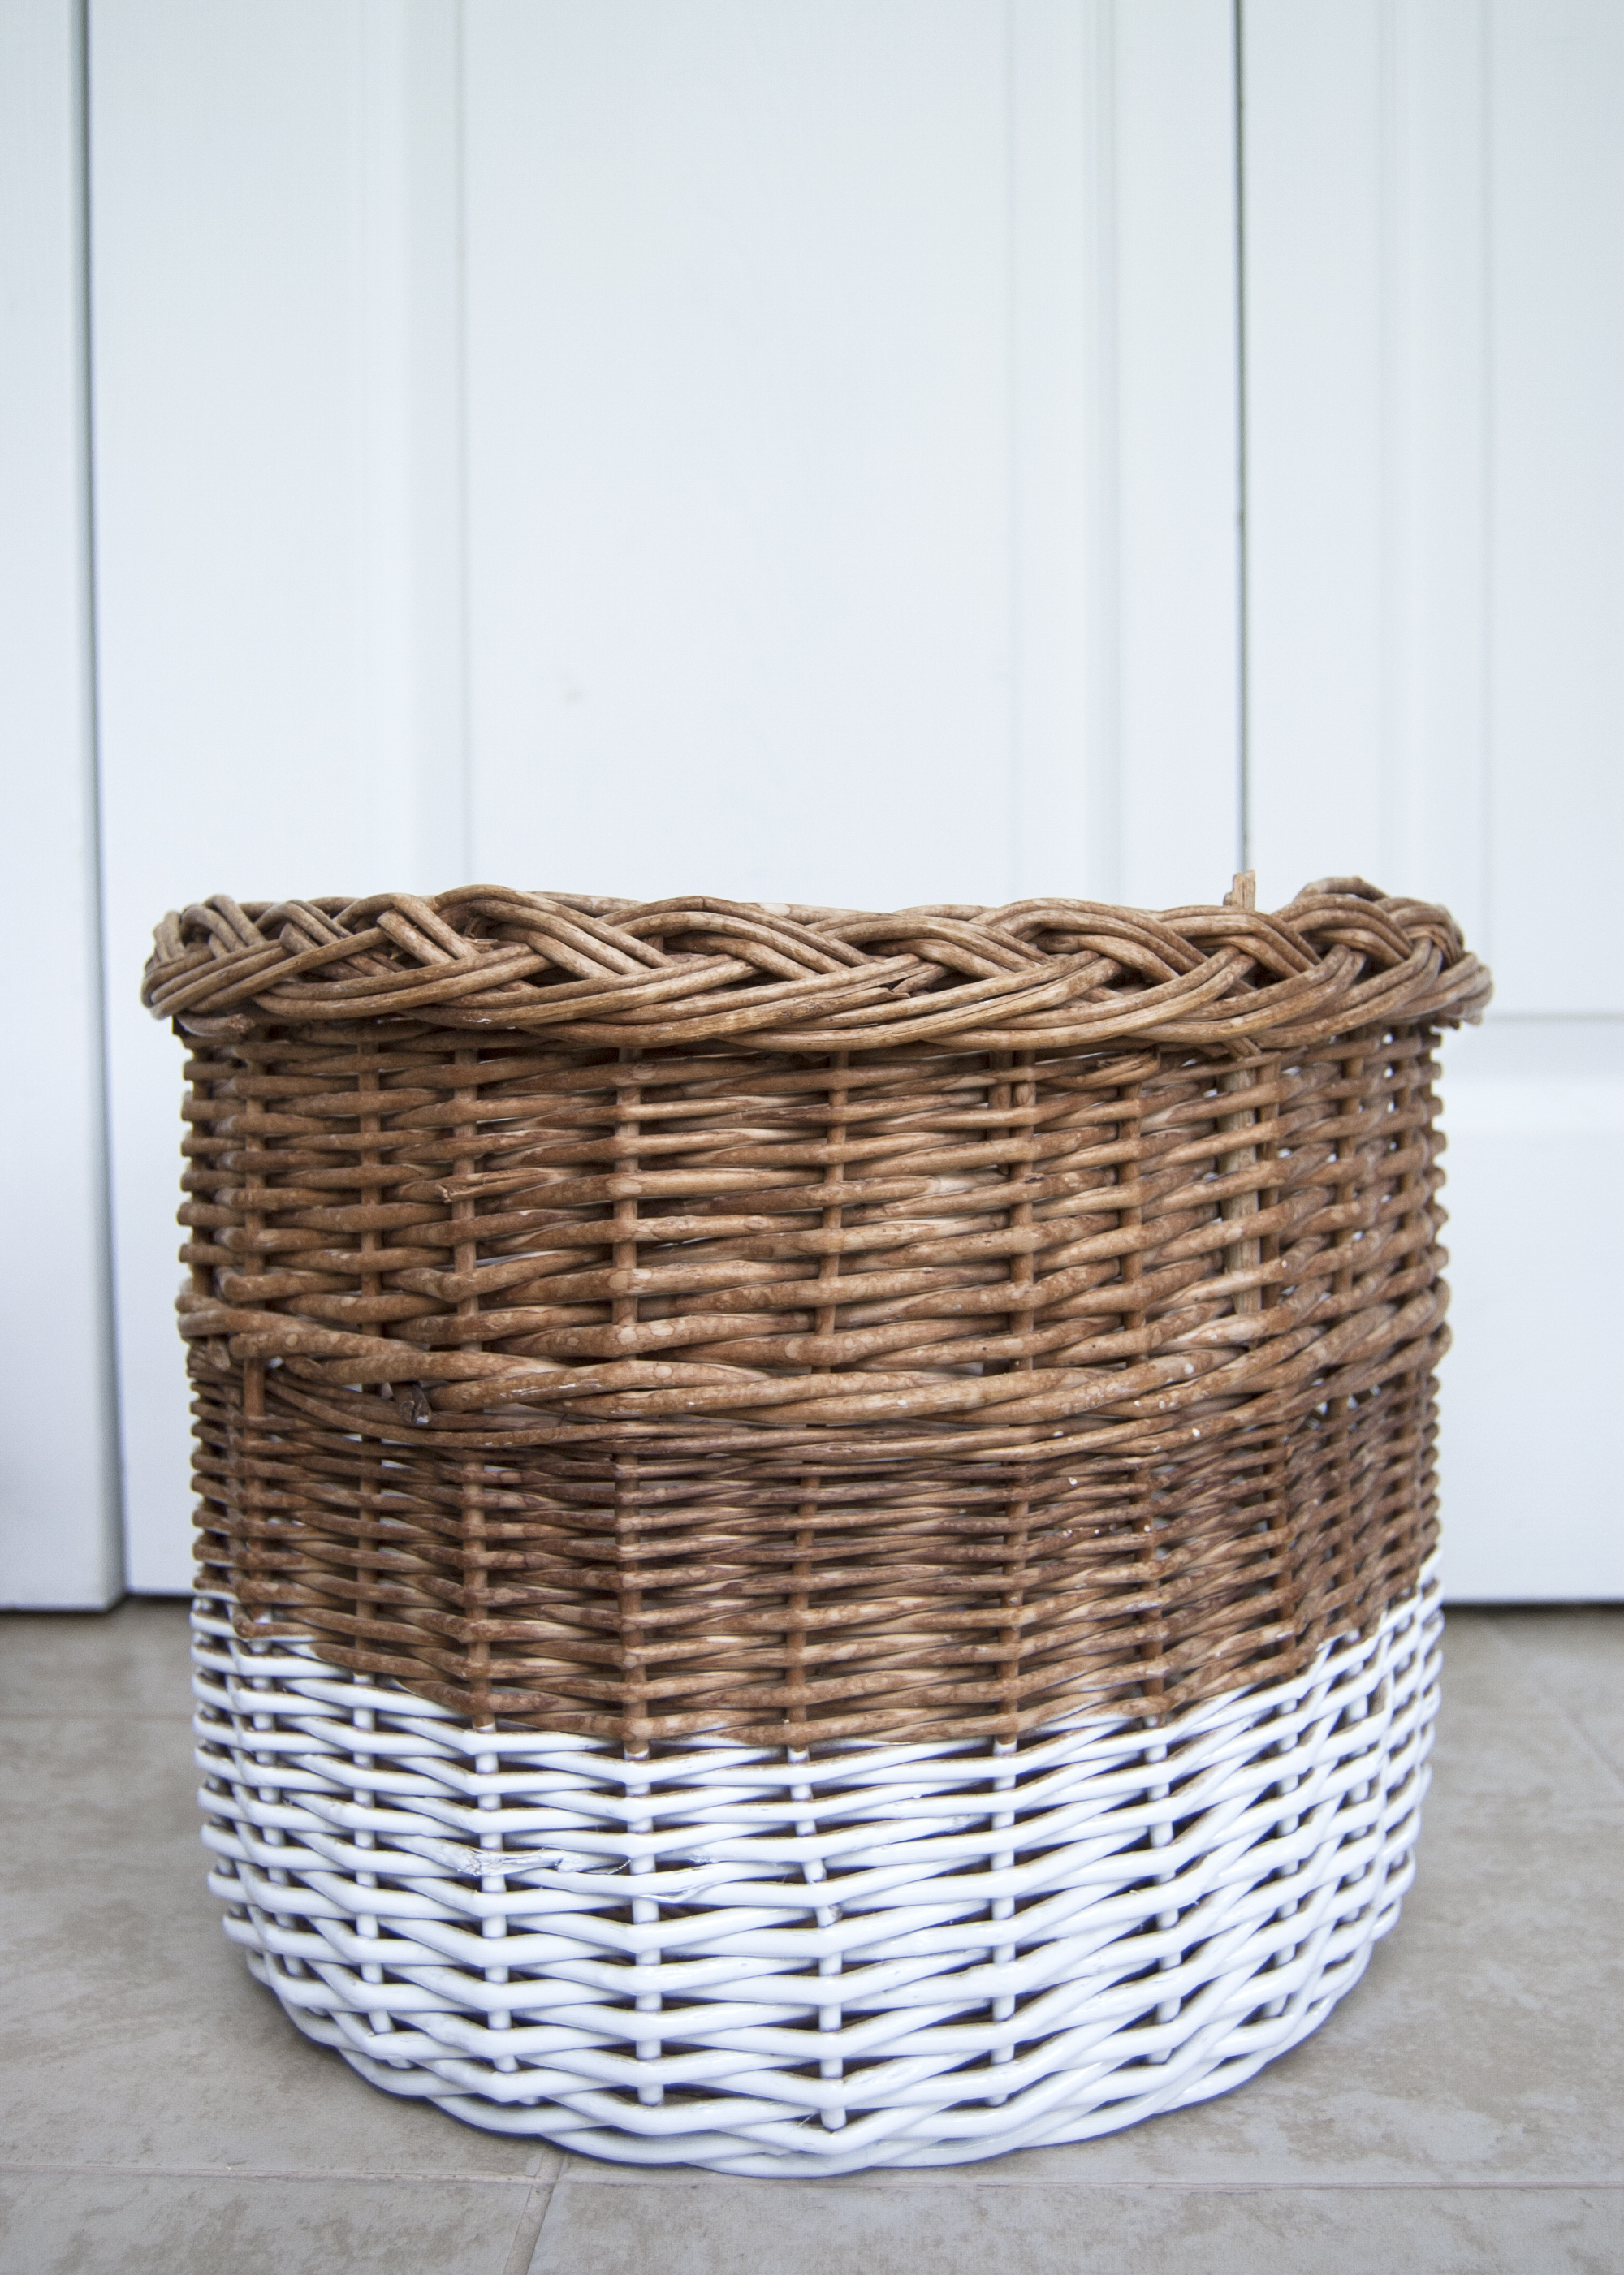
This last one is easy as pie and just as charming. I found this basket a couple of months ago and I love its size and shape so much. However, I noticed that since I keep it in a little nook in my bedroom, it tends to look pretty dark and shadowy over there. I was looking for a way to brighten this piece up and a fresh strip of white paint definitely helped!

To get that paint-dipped look you’ll need:

  • A basket
  • Paint (I used spray paint, but you don’t have to)
  • Paint brush if necessary
  • Painter’s tape
  • Newspaper

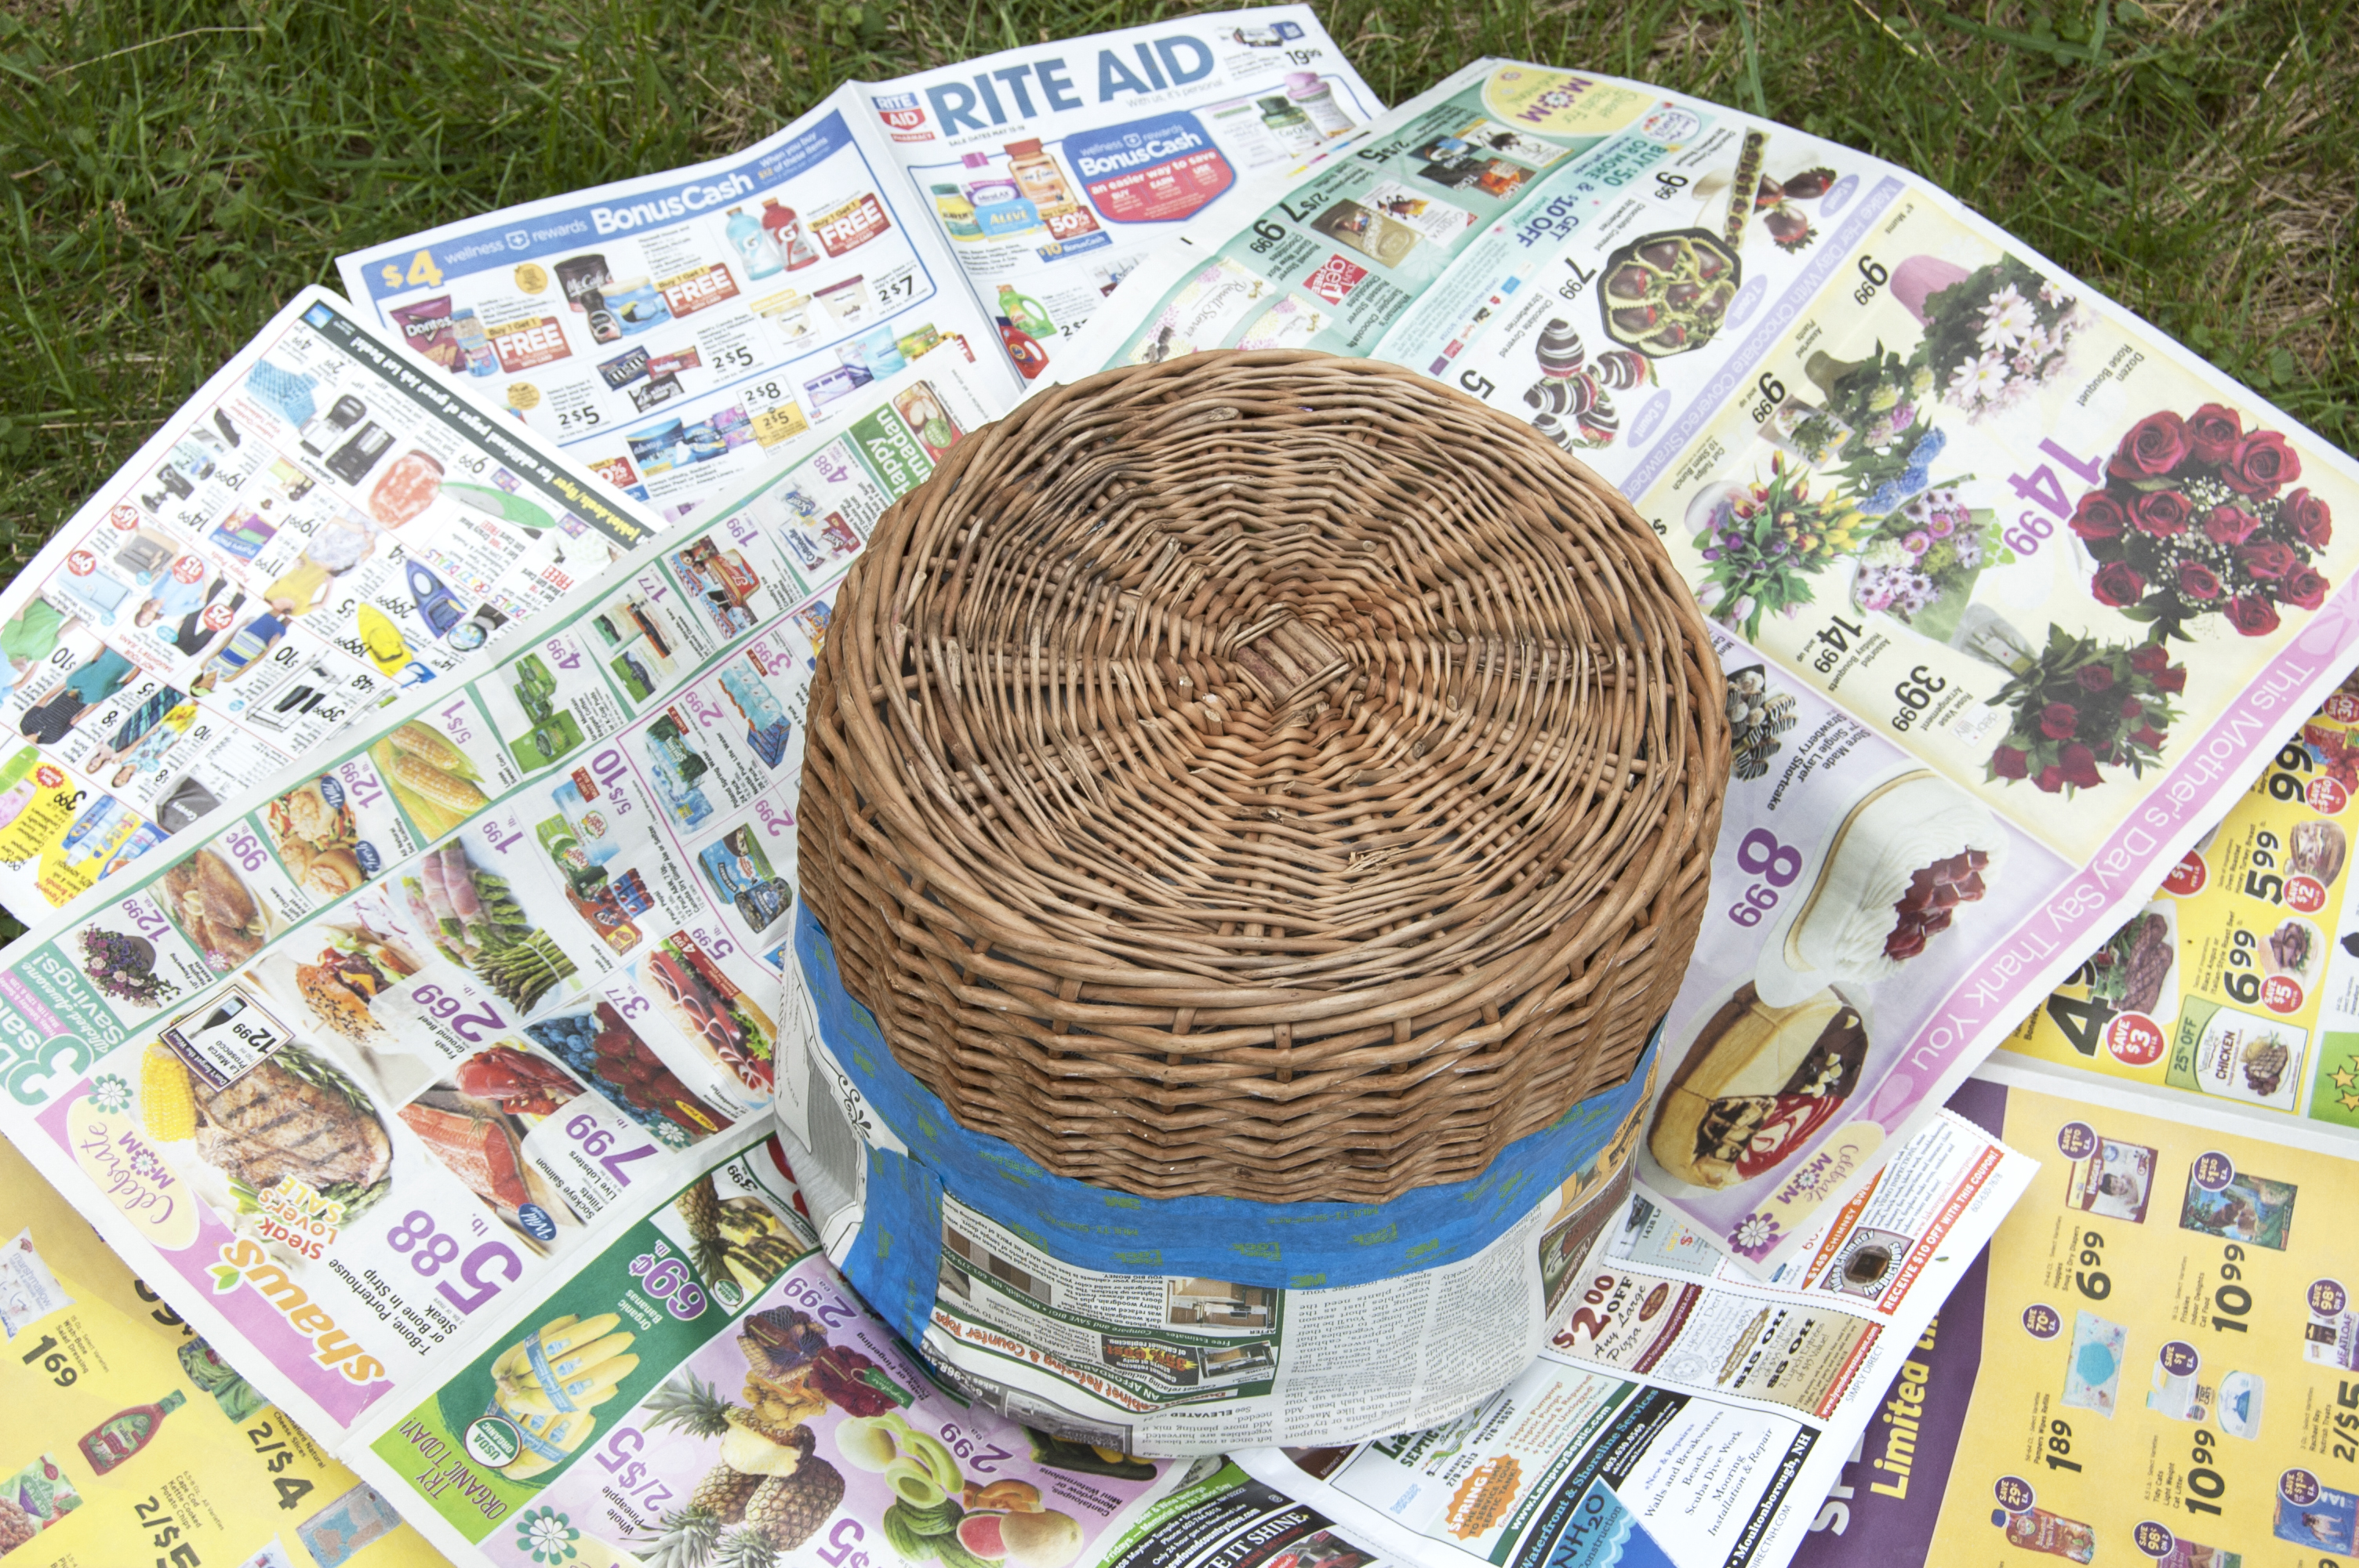
Step 1: Tape off the section you want to paint making sure to cover everything you don’t want to be painted. Remember that paint (especially spray paint) can seep through the basket’s weave so you may want to fill the basket with paper on the inside, too. Press the tape firmly into place so nothing can sneak through!


Step 2: In a well-ventilated area, paint the bottom with spray paint or by hand with a brush. Make sure you follow the directions on your paint to make sure you’re doing it safely.

Each of these is just a quick afternoon project that adds personality to one of the most versatile items on Goodwill shelves. Pile ‘em high with picnic supplies, replace your beach bag with something boho, or get a grip on your indoor organization. You could even use your thrifted basket to tote donations in on your next thrift store trip! Goodwill is where your stuff goes to work and any baskets you buy there are sure to carry more than their fair share of the workload. Have fun making them your own!

Festive Designs for Your Independence Day Celebration

By Julia Marchand

With Independence Day right around the corner, you may be looking for new and exciting ways to celebrate. Of course, a parade and fireworks are basically mandatory, but don’t forget to dress up yourself and your home! These are two of my favorite ways to enjoy holidays since they really set the tone for whatever merriment is approaching.

Image via GoodwillEasterSeals.org

The first thing I like to do to prepare for an upcoming event is to pull together at least one themed display at home. Just setting something up on a tabletop or bookshelf doesn’t take long, but can make a great statement. You don’t even need to have guests over to appreciate it! I find that changing up my surroundings even just a little at a time keeps my home feeling fresh and inspiring. This quick and patriotic display made by Sarah for Goodwill Easter Seals (Saint Paul) is exactly what I’m talking about. It’s bright, bold, and brilliantly priced since she found everything at Goodwill!

Image via GoodwillFabulous.com

Be a firework this fourth by decking yourself out head-to-toe in red, white, and blue like Molly and Penny, the sisters behind the blog Goodwill Fabulous. Can you believe that the dress Molly scored for $4.99 from her local Goodwill originally retailed for $138? That’s about 96% off! I’d say the hunt is well worth it for a price like that. What do you think?

Image via ItAllStartedWithPaint.com

Another aspect of Independence Day that I truly adore is how social the holiday is. This is not one of those intimate family days like Easter nor is it a one-on-one type evening like Valentine’s Day. It’s an all-you-can-eat, everyone’s invited, break out the sparklers kind of jubilation! As such, it might be a good idea for you to have some snacks and activities on hand. Here are some fantastic ideas for themed décor an d pastimes from Marion Goodwill Industries (OH) including the super simple silverware stash above!

But perhaps the most patriotic thing about celebrating the Fourth of July by shopping at your Goodwill is that every dollar you spend is going back into your own community. Eighty-three percent of collective revenues raised through the sale of donated goods support and grow Goodwill’s critical community-based programs and services. Thrifting at Goodwill is such an easy and effective way to help keep your unique community strong to ensure that we can continue to applaud it every July 4th for a very long time.